
These instructions are for using the black icon MakerBot Print software (download link). It is also installed on the iMacs at each Media Commons location (link). If you are using the red icon MakerBot Desktop software, instructions are located here.
This tutorial will show you how to create a .makerbot file using the new MakerBot Print software. The new MakerBot Print software is available on all iMacs at your local Media Commons location. It has a new interface and completely re-written slicing engine for improved results. You can also download and install it on your own computer for free by visiting MakerBot Print. Once the software is installed, proceed with this tutorial.
To create a .makerbot file, first open MakerBot Print software.
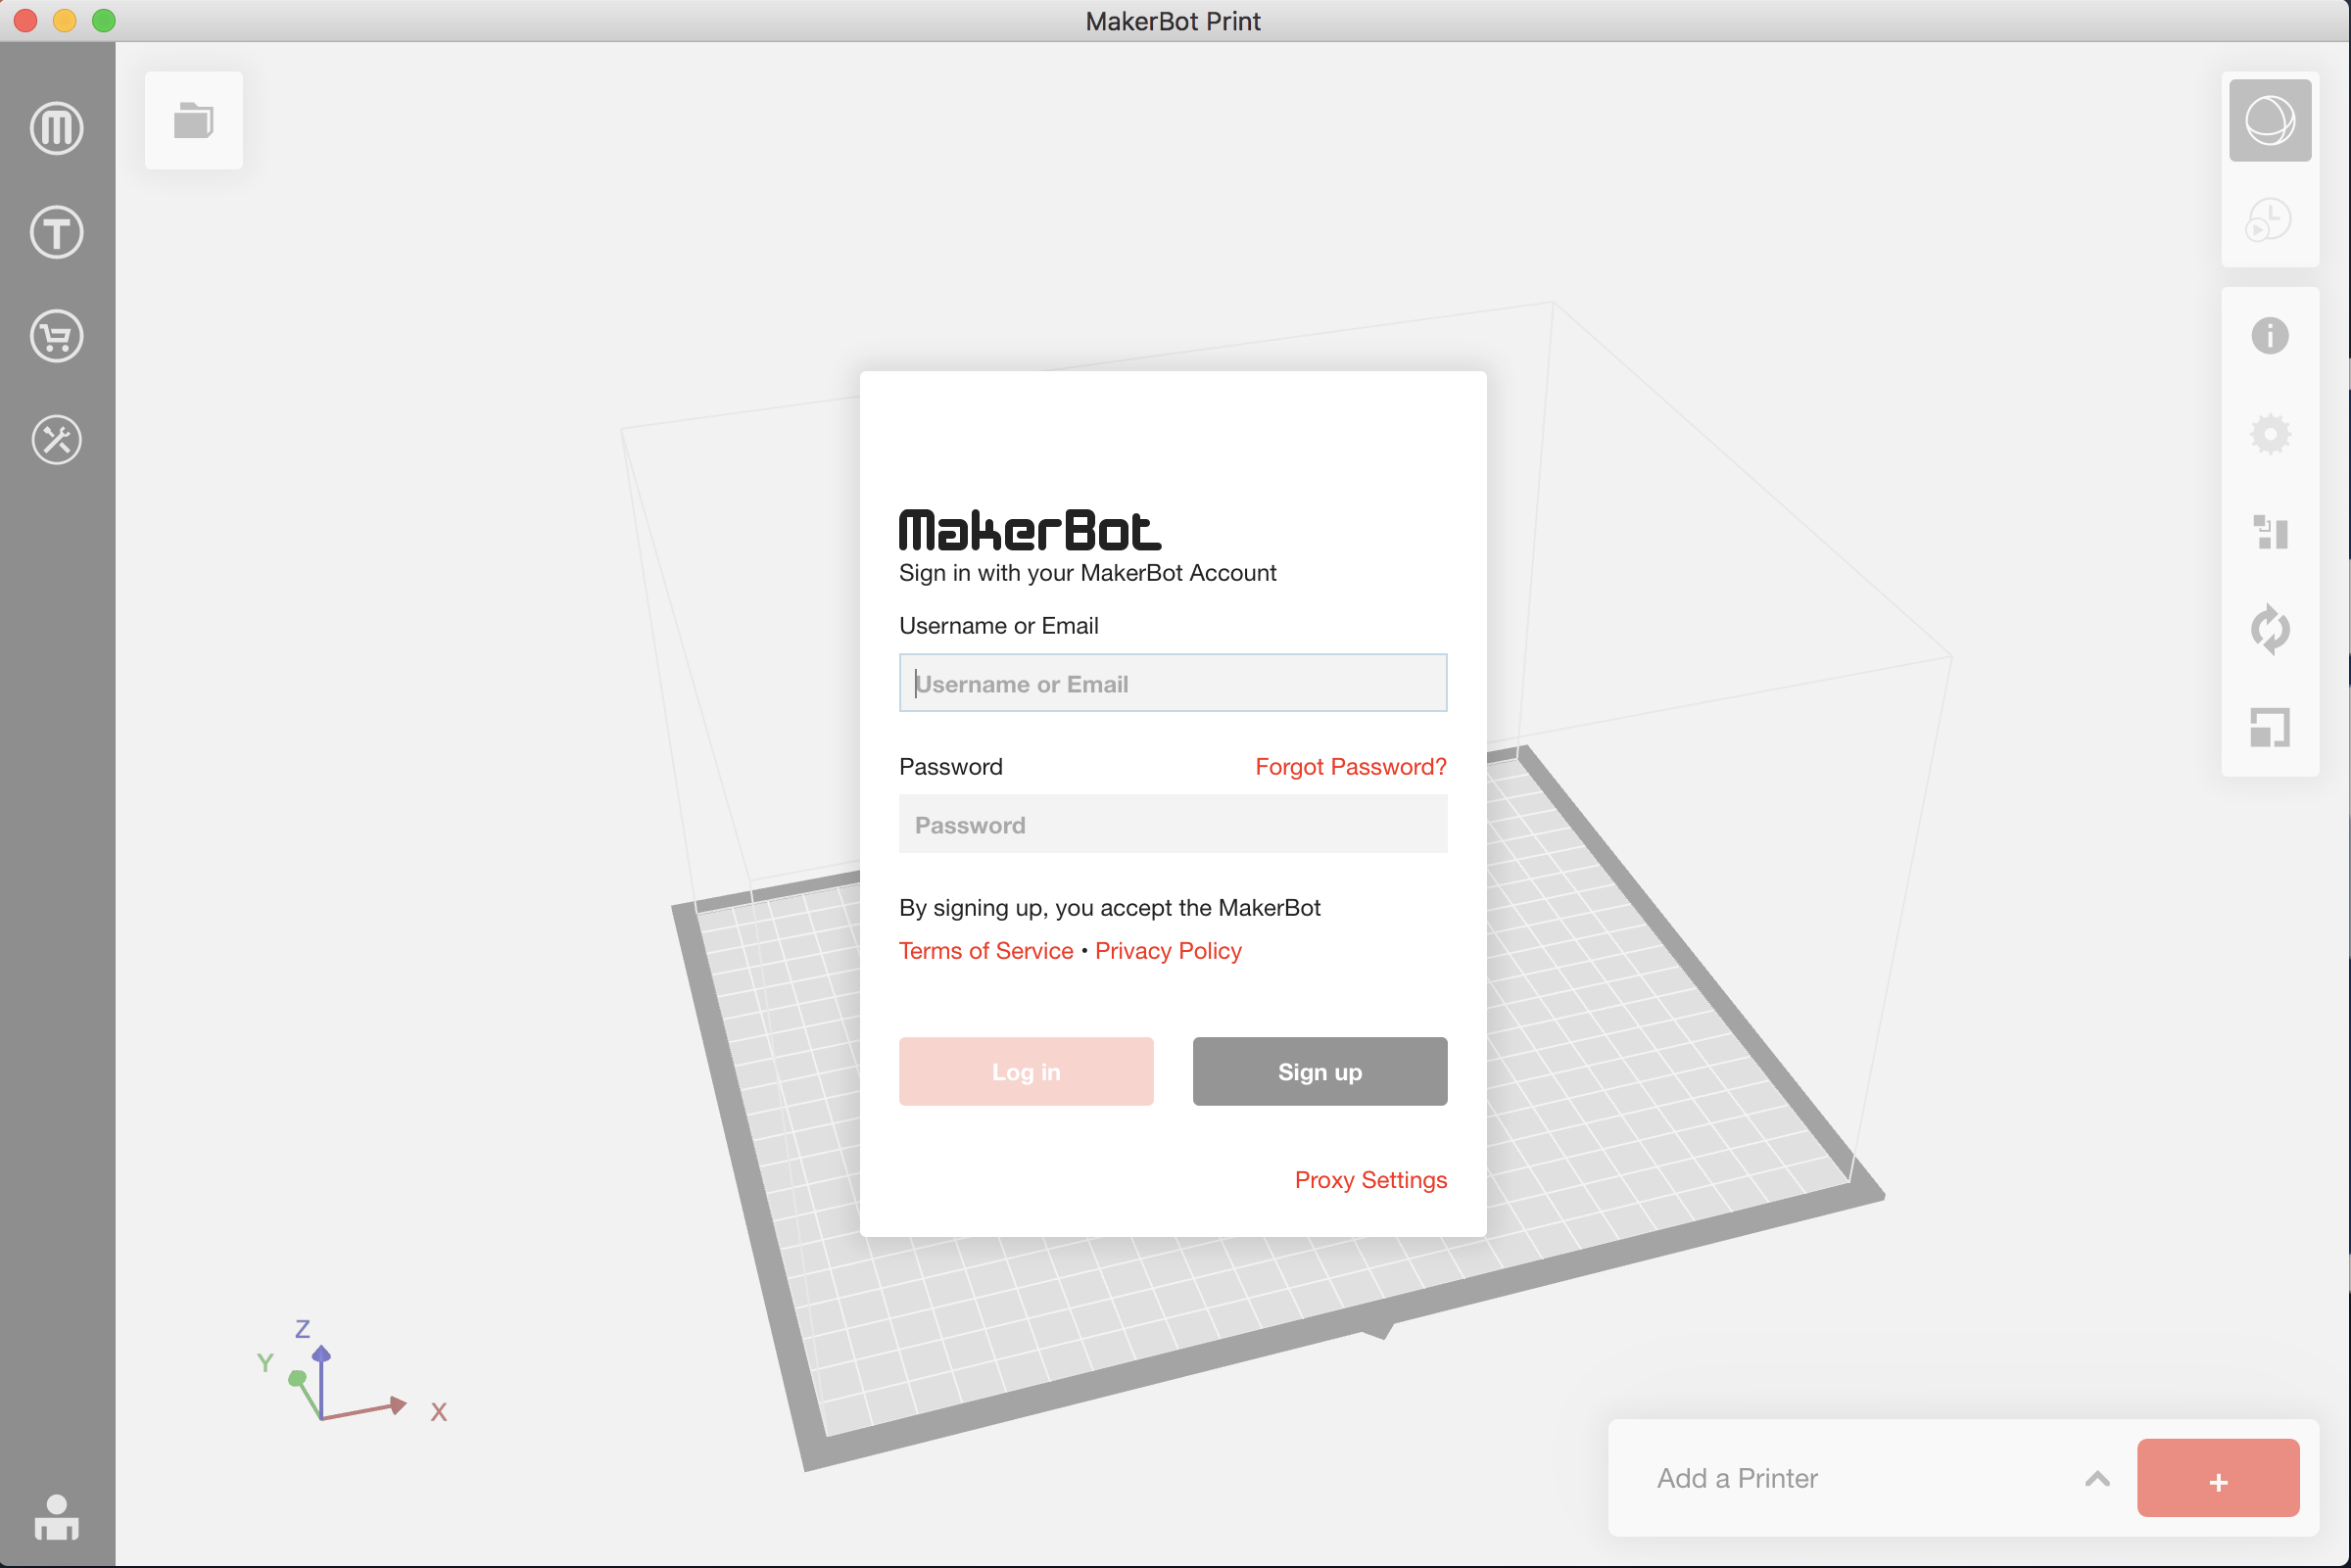
In order to use MakerBot Print, you need to be signed in to a MakerBot account. Log in or Sign up for an account. (Note: This is a different account from the one you signed up for submitting files to the Penn State MakerBot Innovation Center)
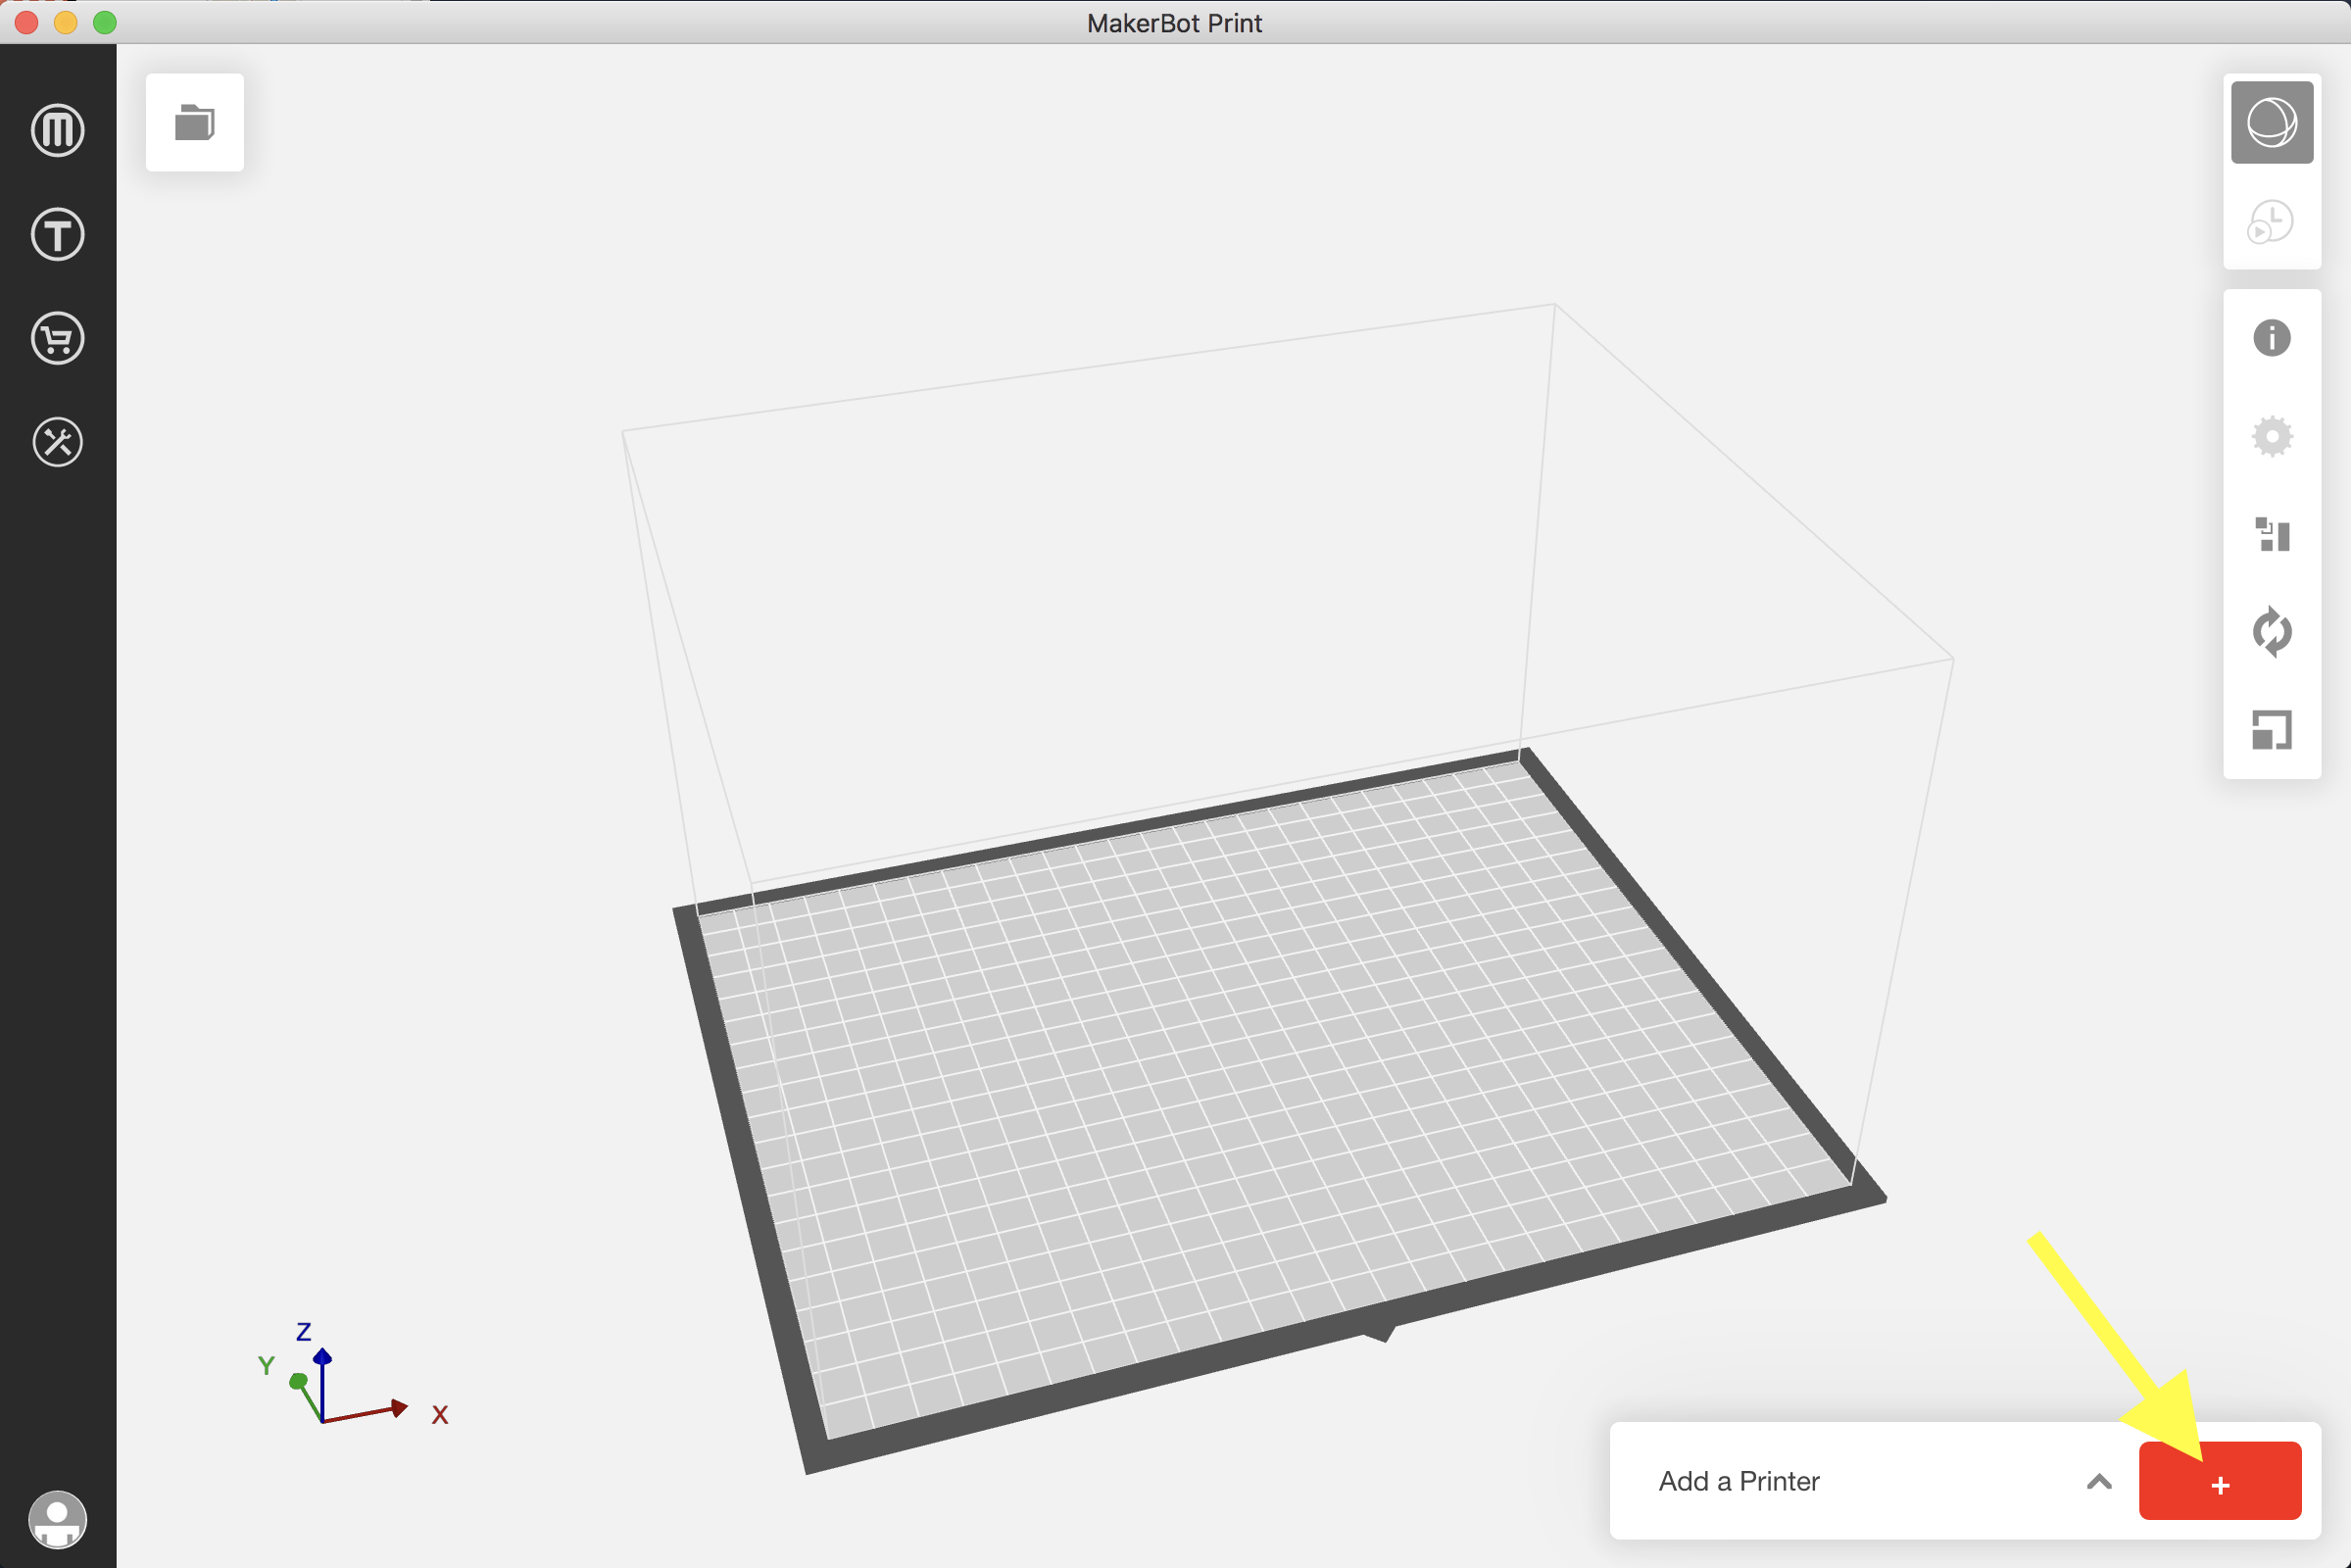
Once the software opens, you need to make sure that the right type of 3D printer is selected. To do this, click the Red Plus Sign Button in the bottom right next to the text that says “Add a Printer”. Then go to Select Type of Device and choose Replicator (5th Generation).
Click on Add an Unconnected Printer.

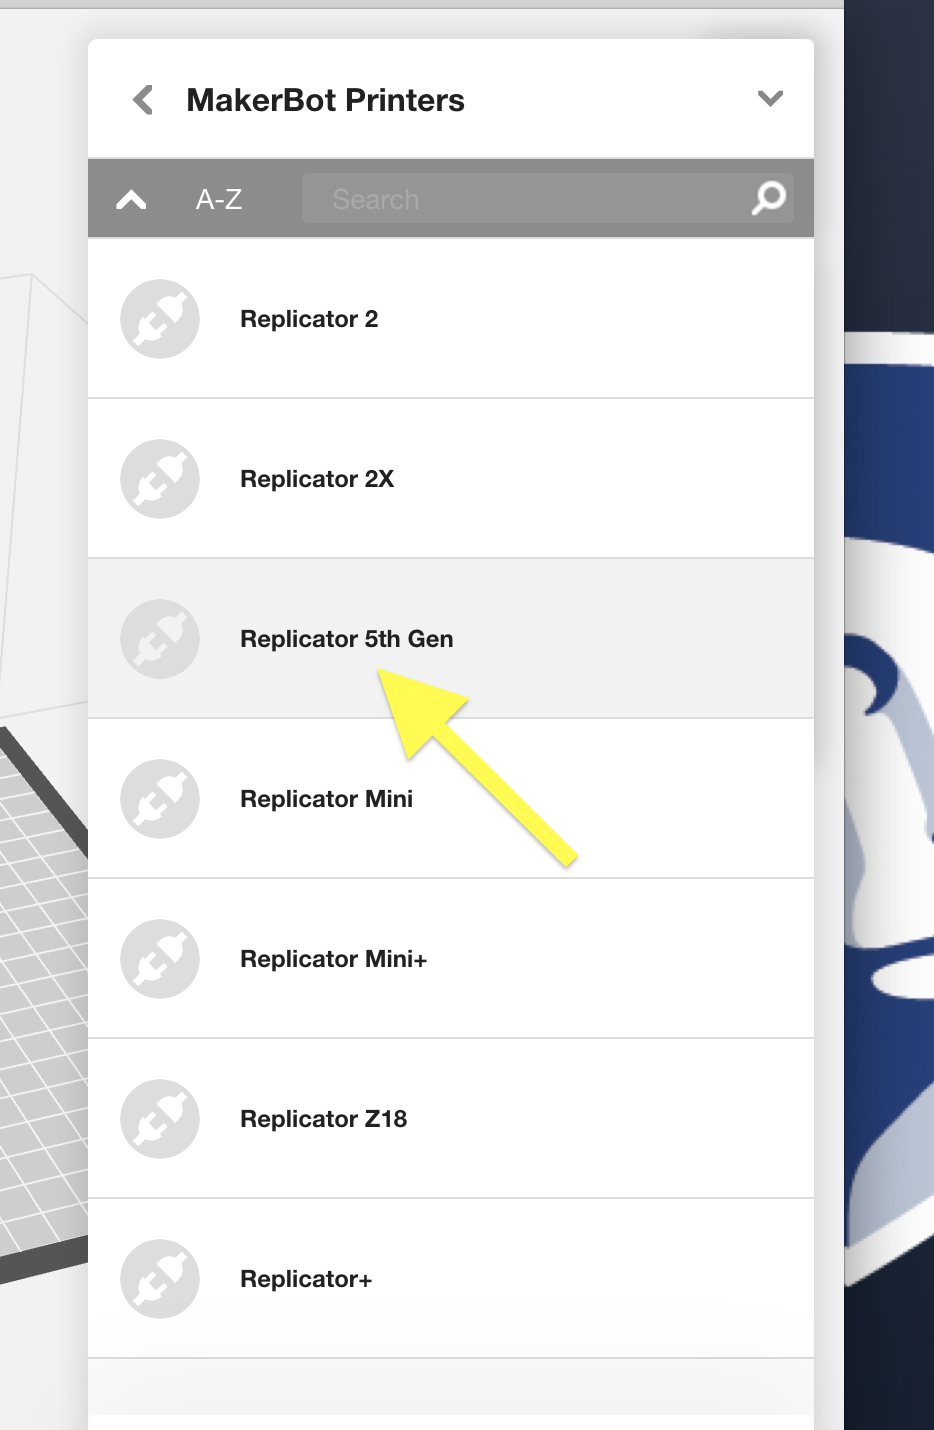
Select Replicator 5th Gen from the list of printers.
Once the printer is selected, it will appear with status Export Only under the Replicator 5th Gen name and Offline at the bottom of the window.

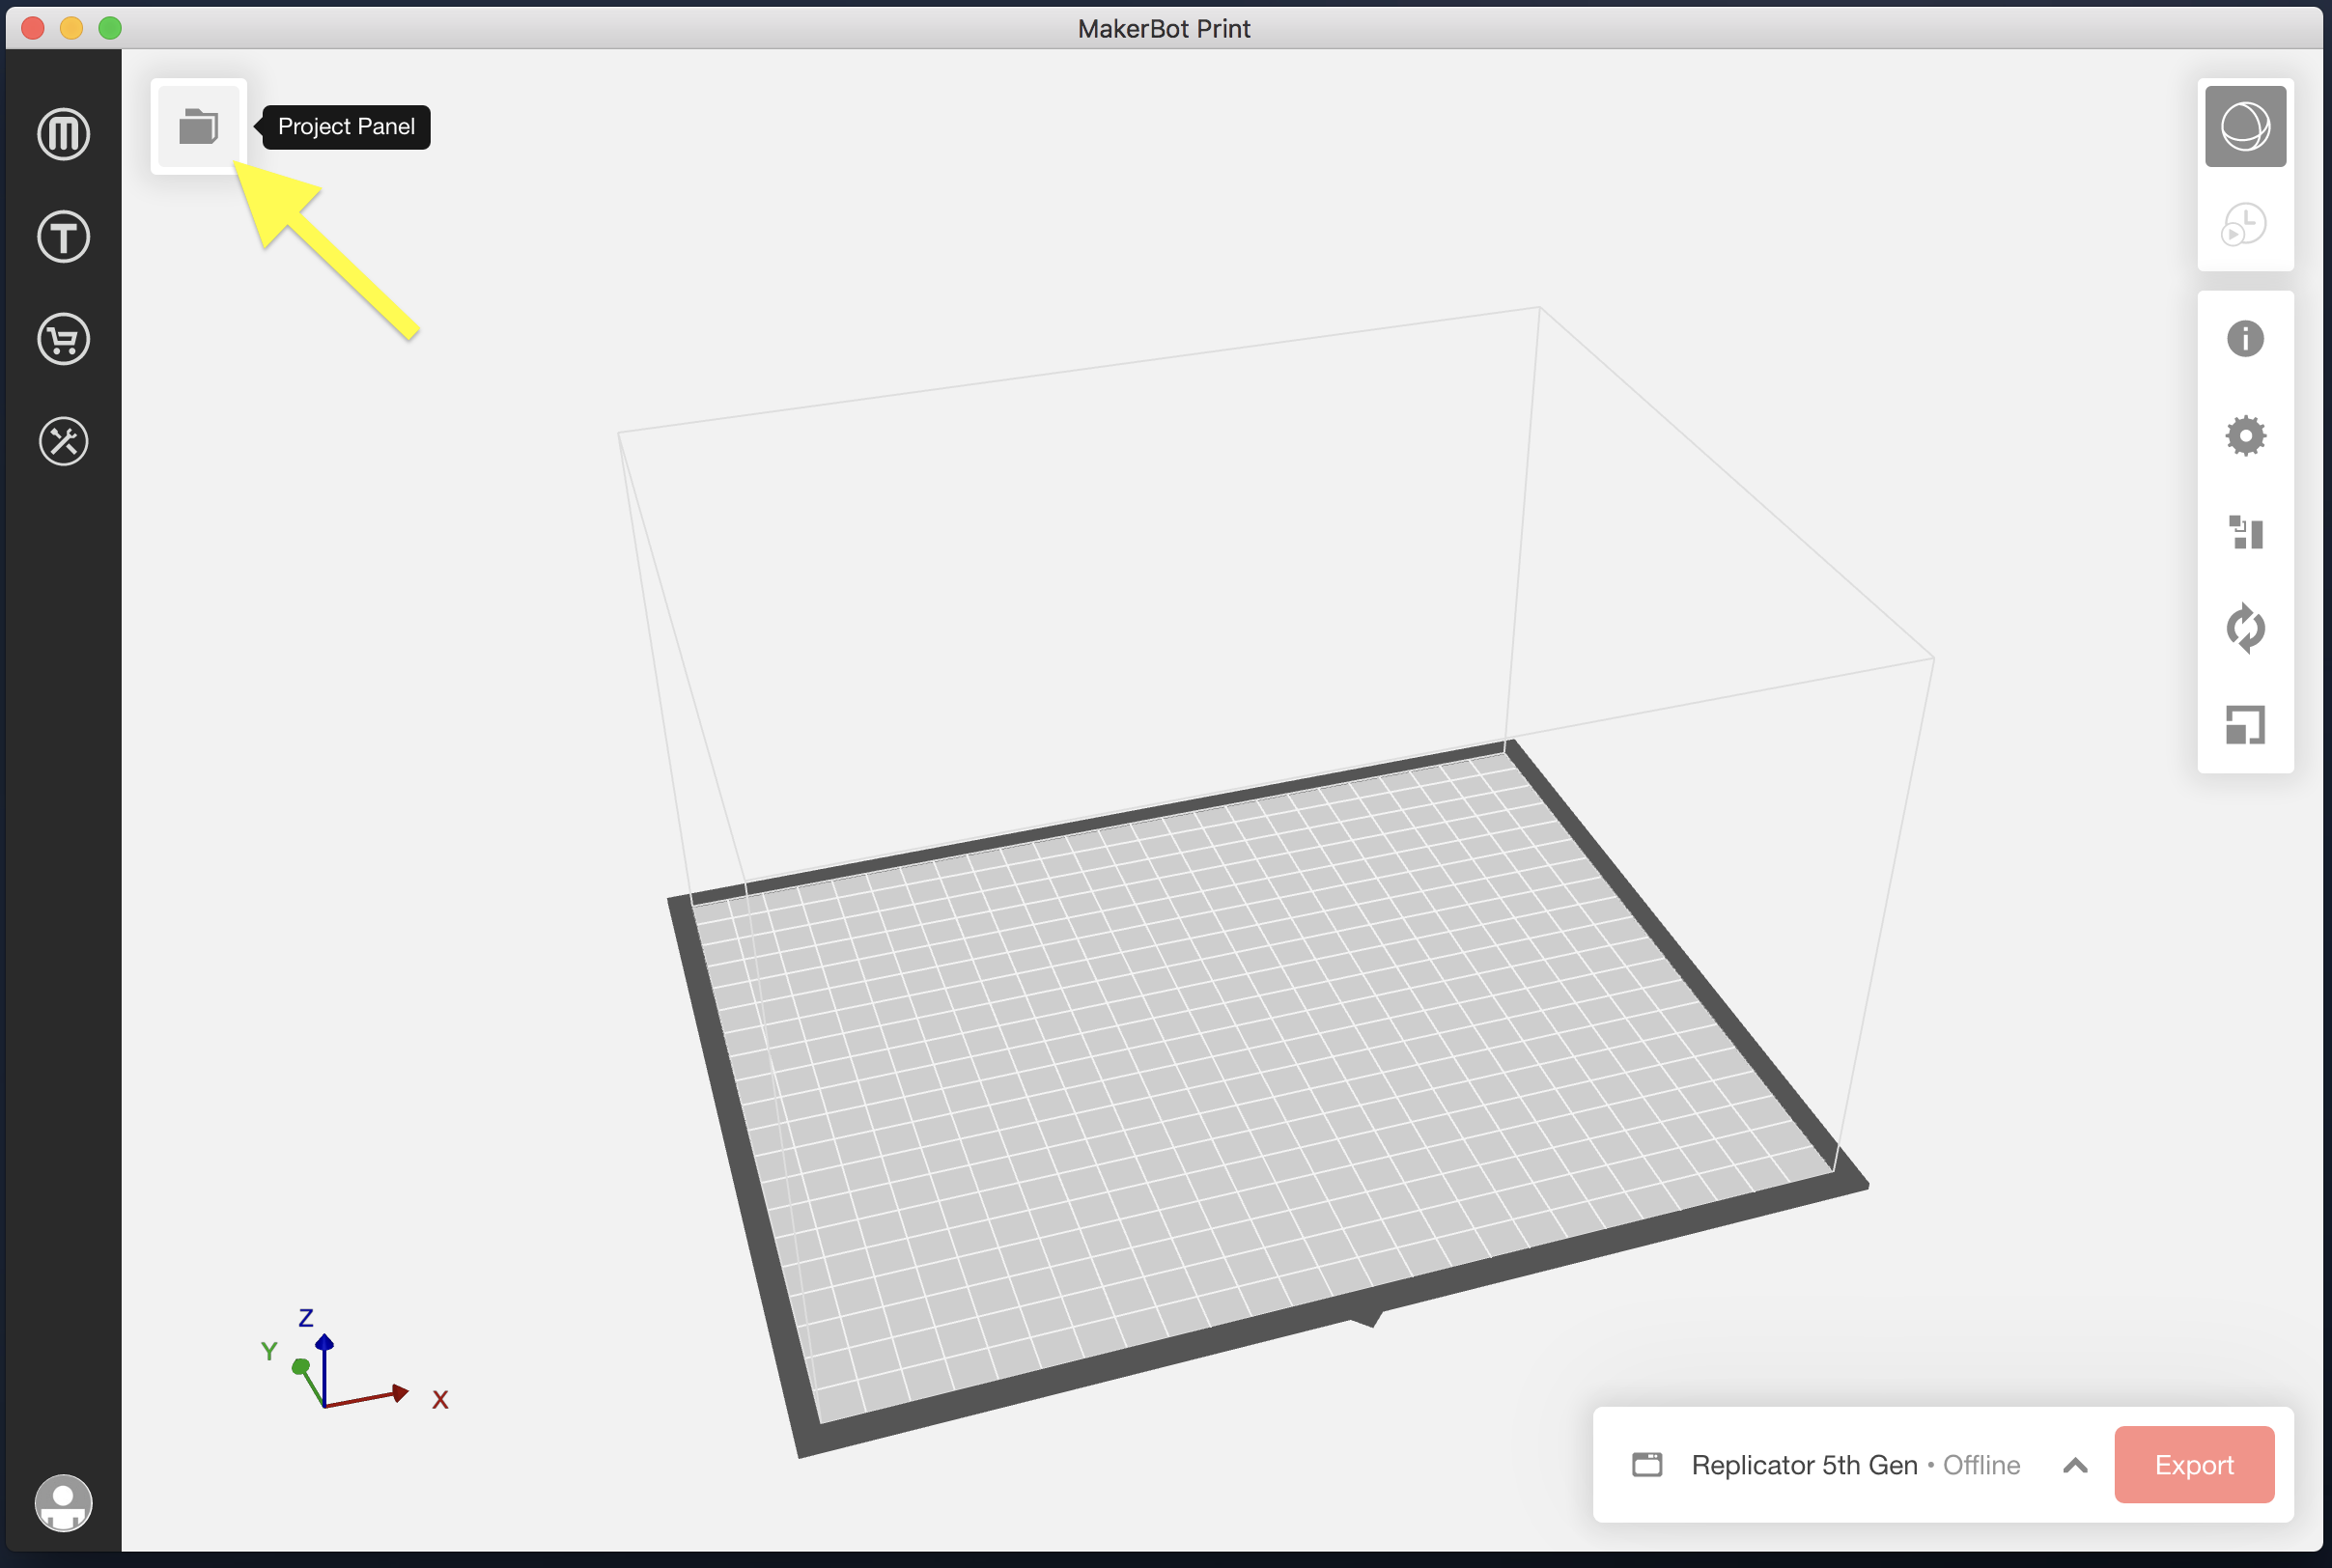
Next you will need to add your 3D model to the build platform. To do this, click on the Project Panel button that appears in the top left side of the MakerBot Print application window.
Now you can select the file you wish to add by clicking the Add Models button.
Windows users can import and manipulate Native CAD files* while Mac users can import assemblies in STL format.
*MakerBot (.makerbot), STL (.stl), SolidWorks (.sldprt, .sldasm), InventorOBJ (.ipt, .iam), IGES (.iges, .igs), STEP AP203/214 (.step, .stp), CATIA (.CATPart, .CATProduct), Wavefront Object (.obj), Unigraphics/NX (.prt), Solid Edge (.par, .asm), ProE/Creo (.prt, .prt., .asm, .asm.), VRML (.wrl), Parasolid (.x_t, .x_b)
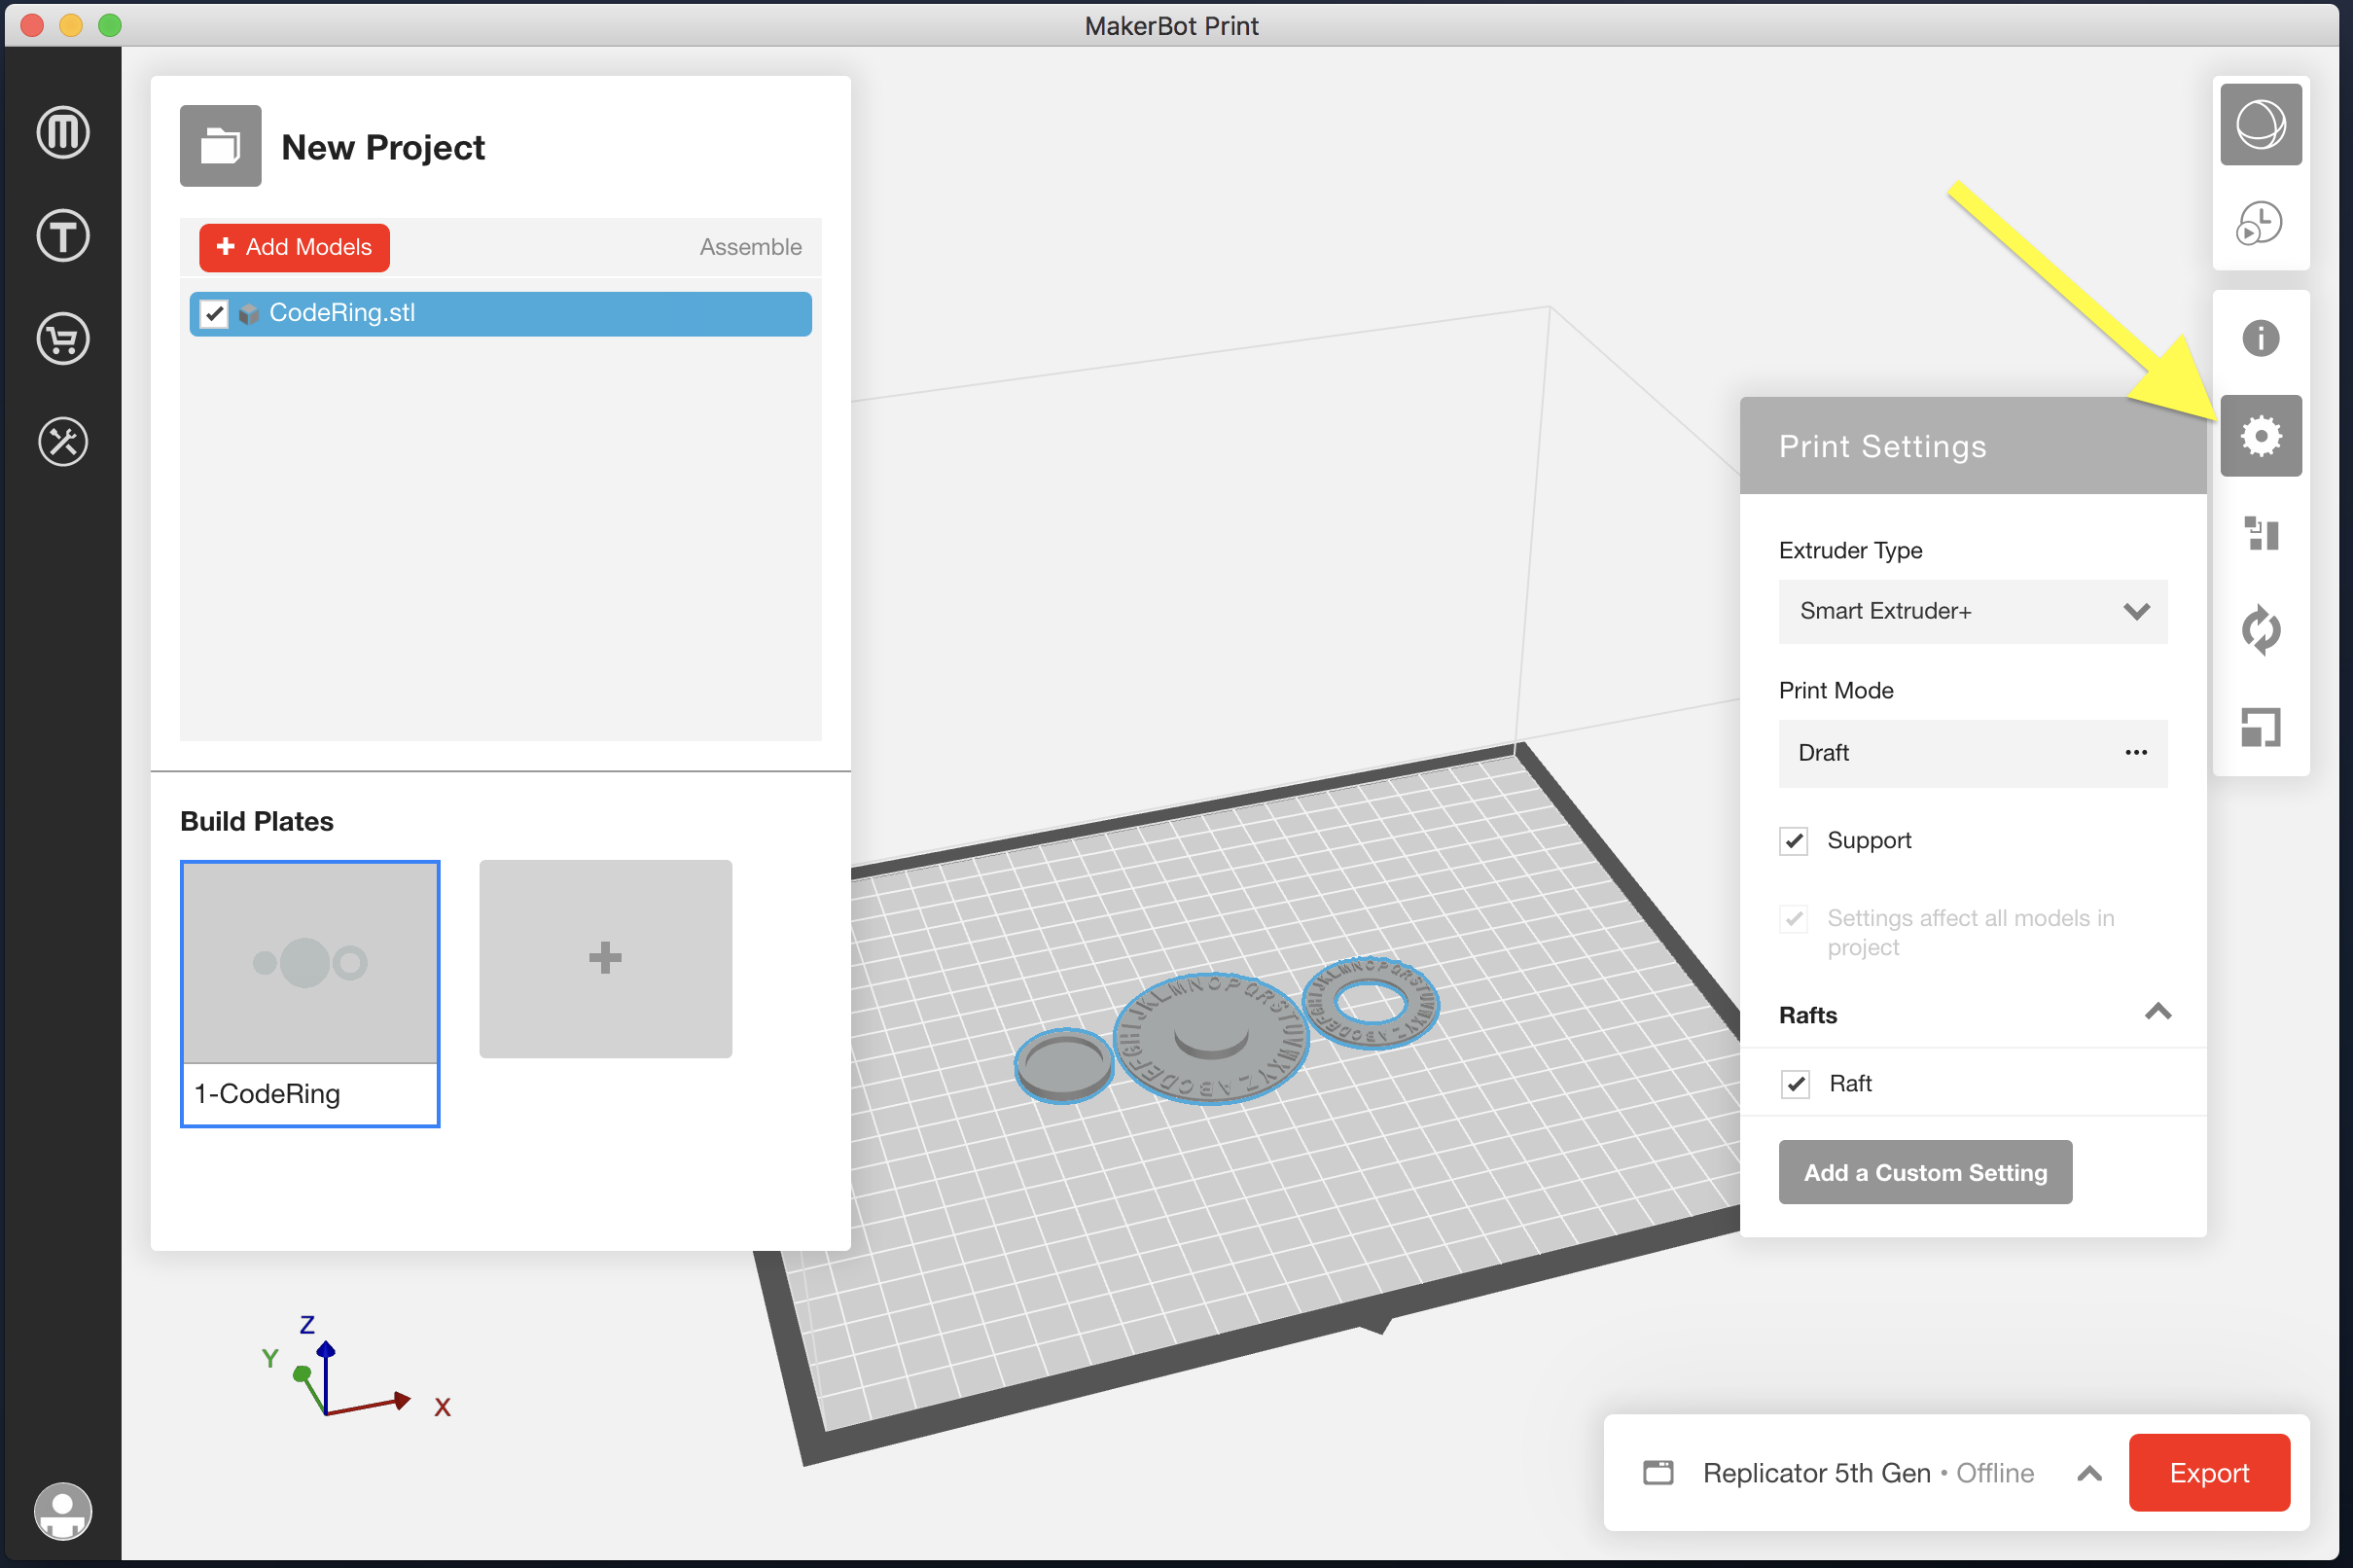
Once your model has been added, you can adjust the Print Settings. There are a few Print Settings that need to be set correctly or your 3D print will fail. Click on the Print Settings gear icon in the toolbar on the right side.
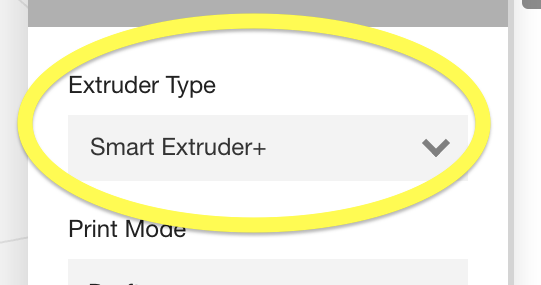
Make sure that Extruder Type is set to Smart Extruder+.
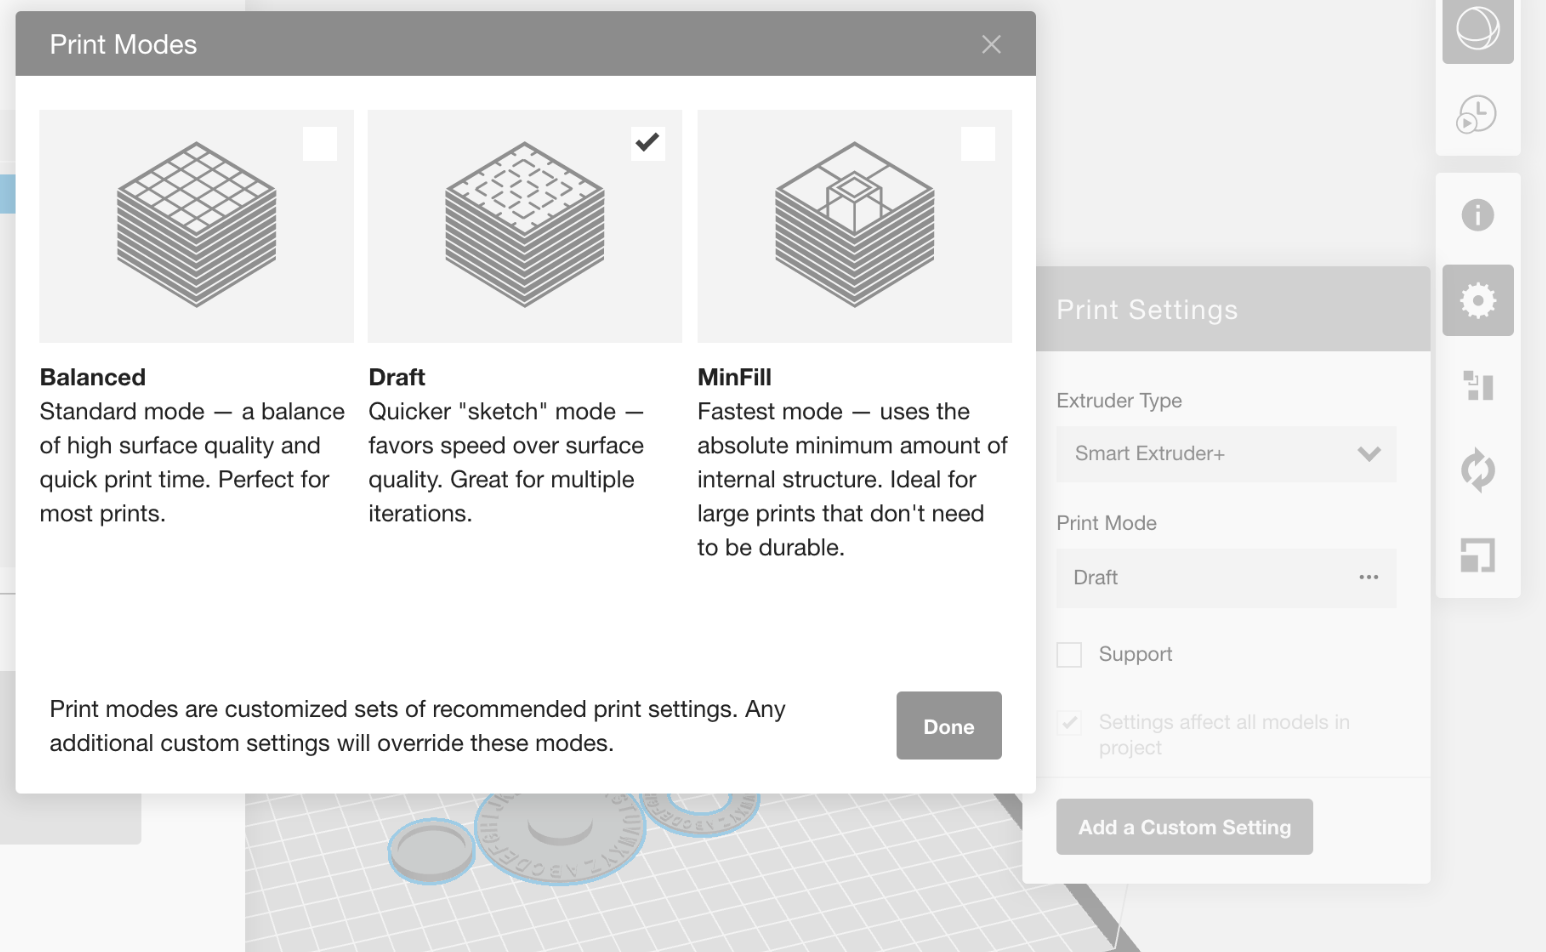
For most 3D printing you will want Print Mode to be set to Draft or MinFill. These will also print faster and conserve filament, or allow you to print larger objects.
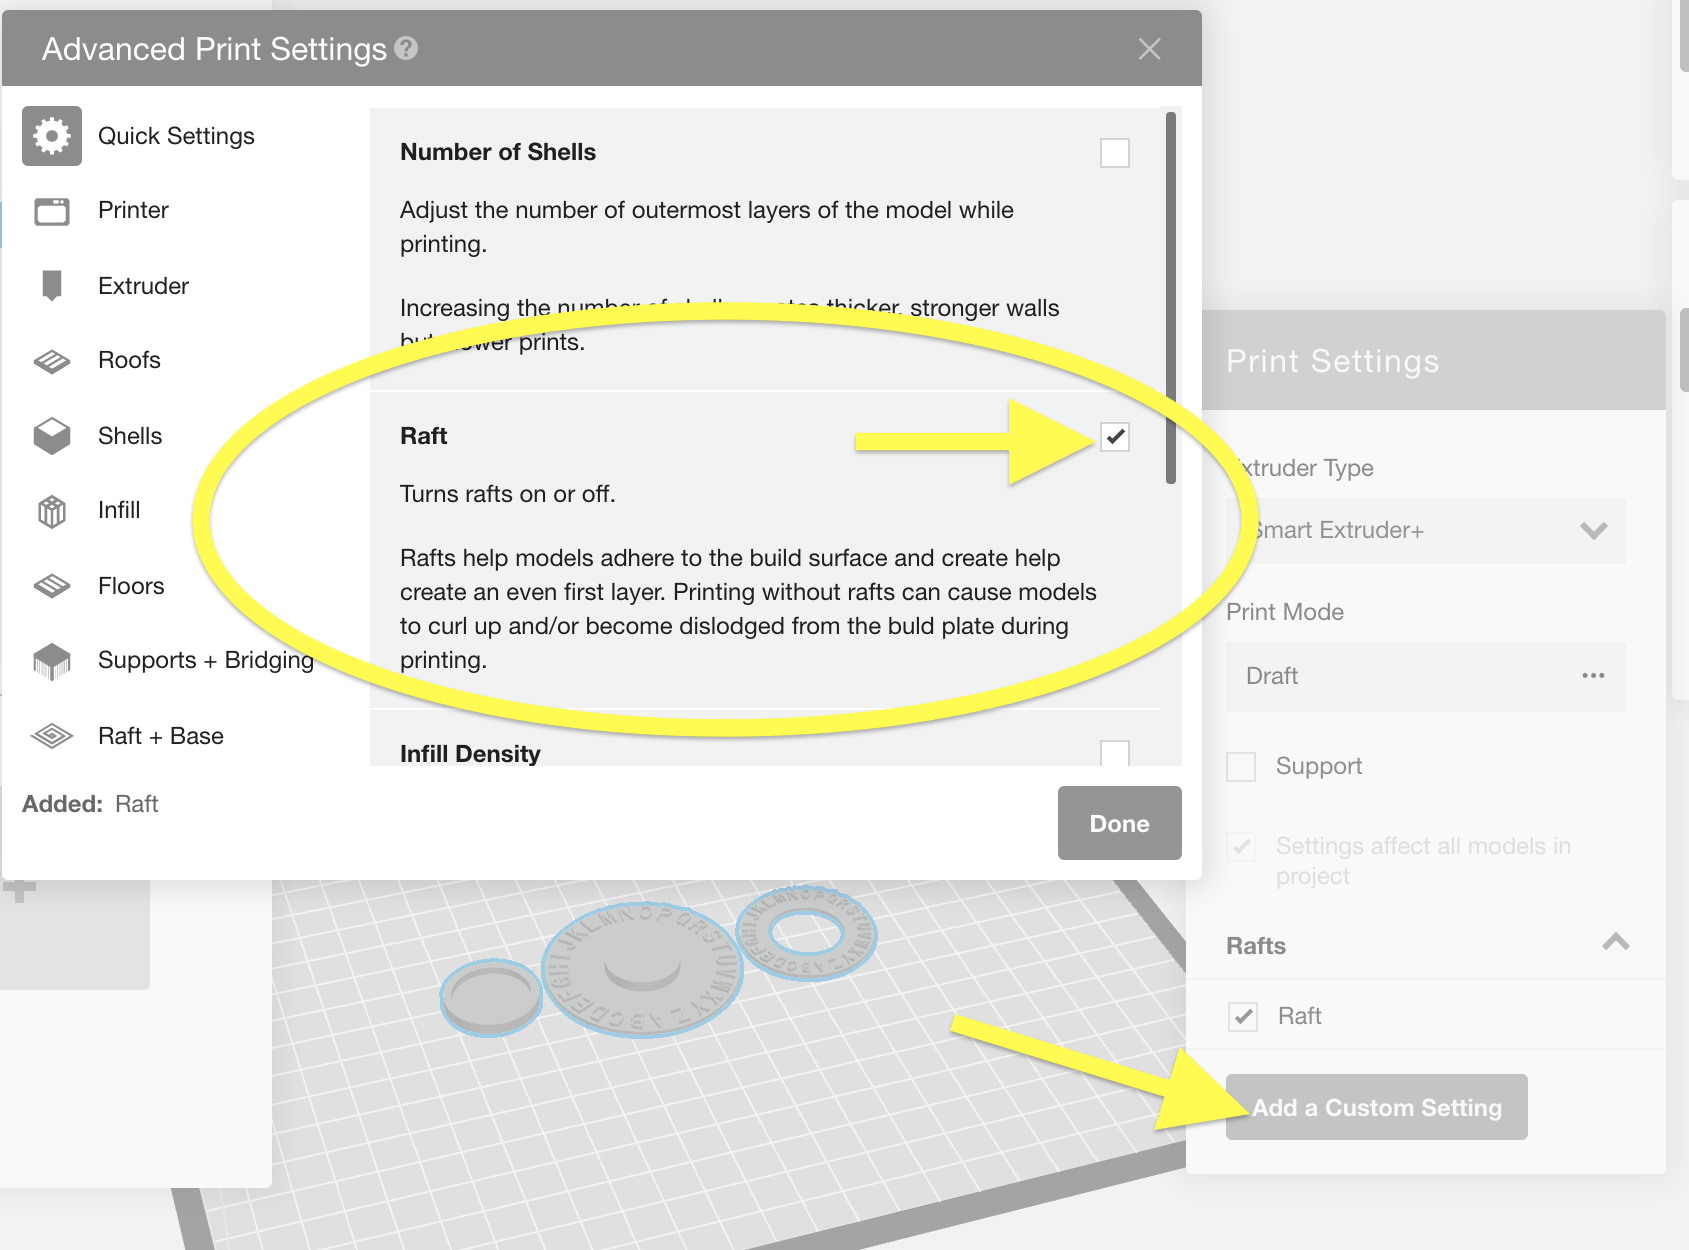
Next you need to make sure that Rafts are turned on or your 3D Print will fail. Click Add a Custom Setting at the bottom of the Print Settings panel. Then click the check box to turn on Rafts.
The final setting that may cause failure if it is turned off is Support. This is related to many different aspects of the model such as how gradual of an angle there is when parts transition from vertical to horizontal, or if you are printing directly of negative space with nothing underneath the part. When in doubt, turn on Support by clicking the check box.

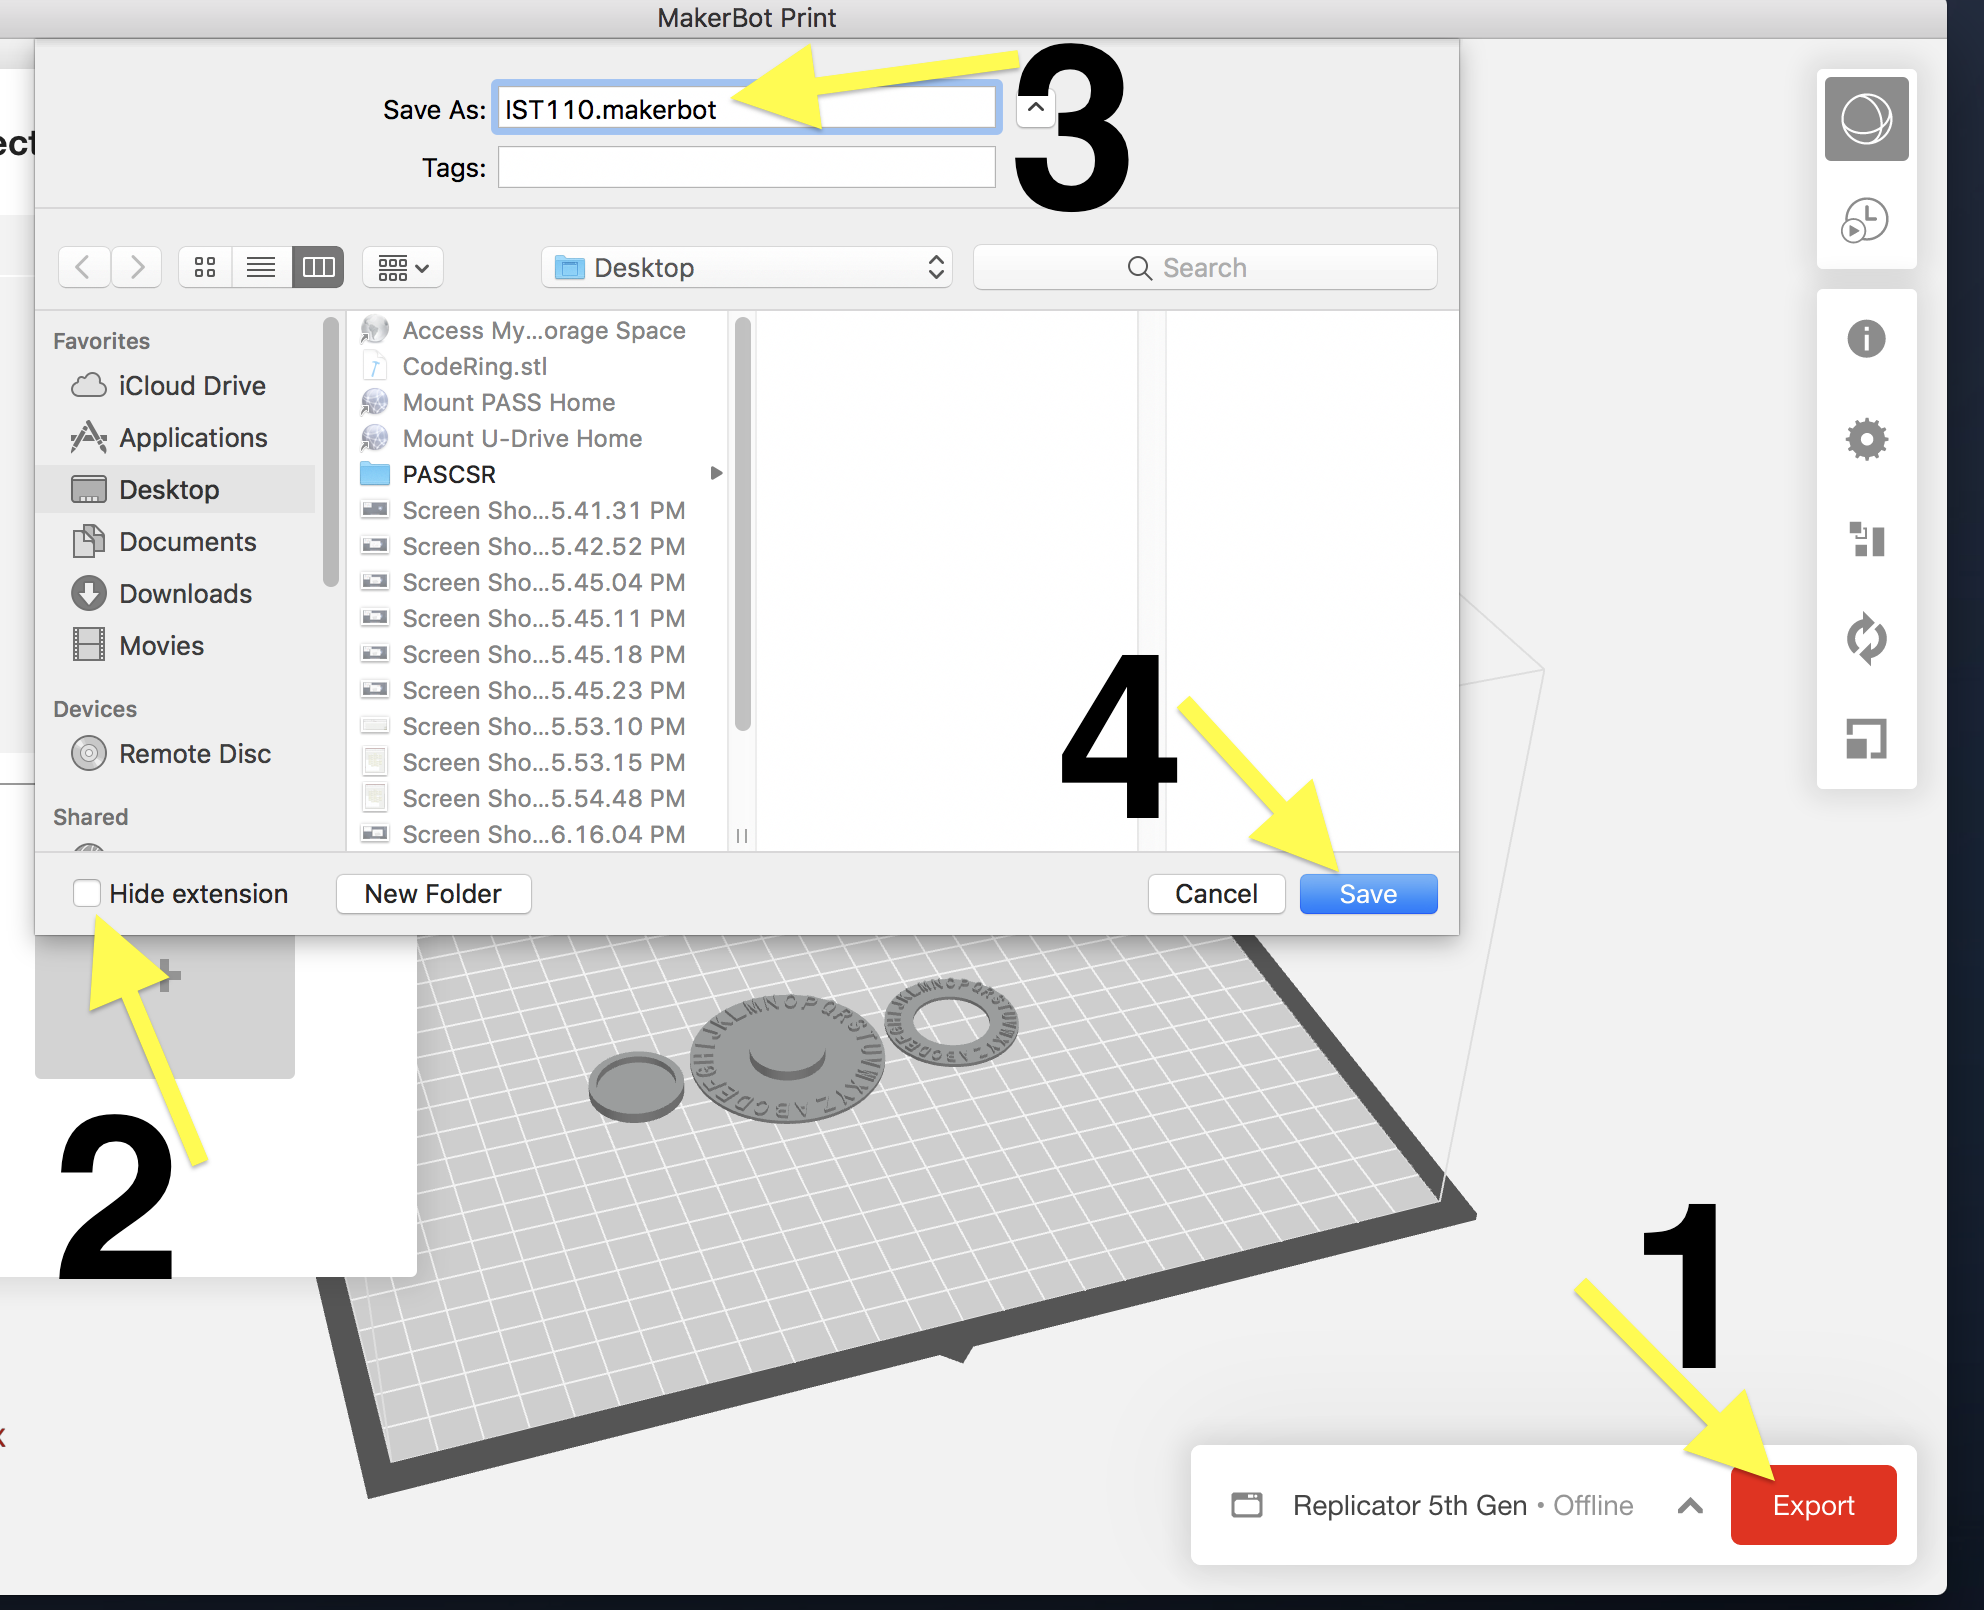
Now you are ready to export the .makerbot file. Click Export in the bottom right. Uncheck Hide extension so you can see the filetype. Name your file taking care to not delete the .makerbot file suffix. Save the file to your Desktop.
Now that you have exported your .makerbot file, you are ready to submit it to the Innovation Center.