
Tinkercad is a beginner level web application that can be used for creating 3D models for 3D printing. This tutorial will walk you through making a simple cookie cutter to practice using the tools for 3D modeling in Tinkercad.
Note: Tinkercad’s default units are millimeters. The units can be changed to inches, but this tutorial will be done with millimeters.
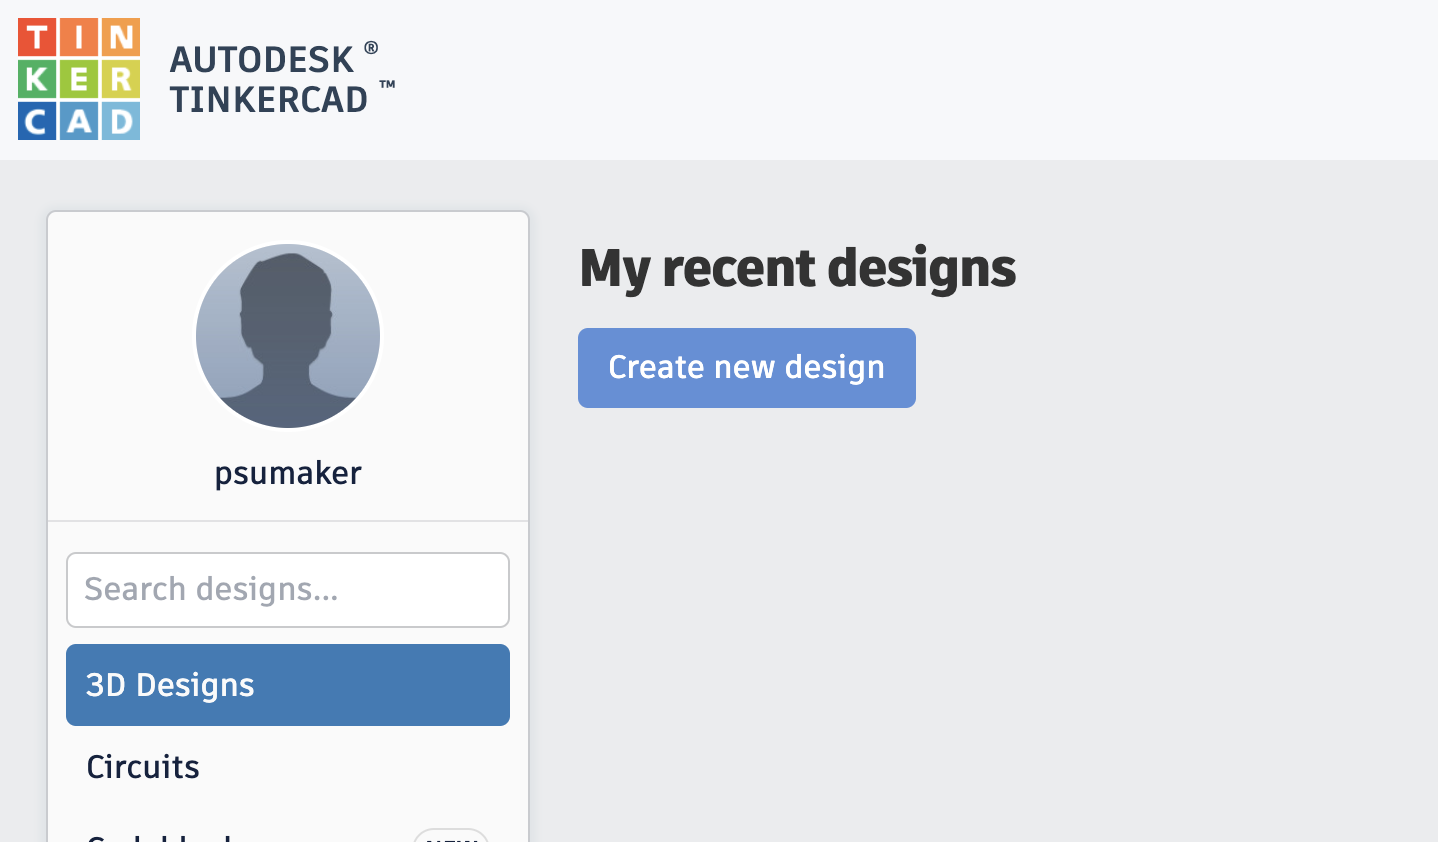
To begin, go to tinkercad.com.
Log in or create and account and then click the Create New Design button.
Your design will be given a random name so you will want to change it to describe your design.
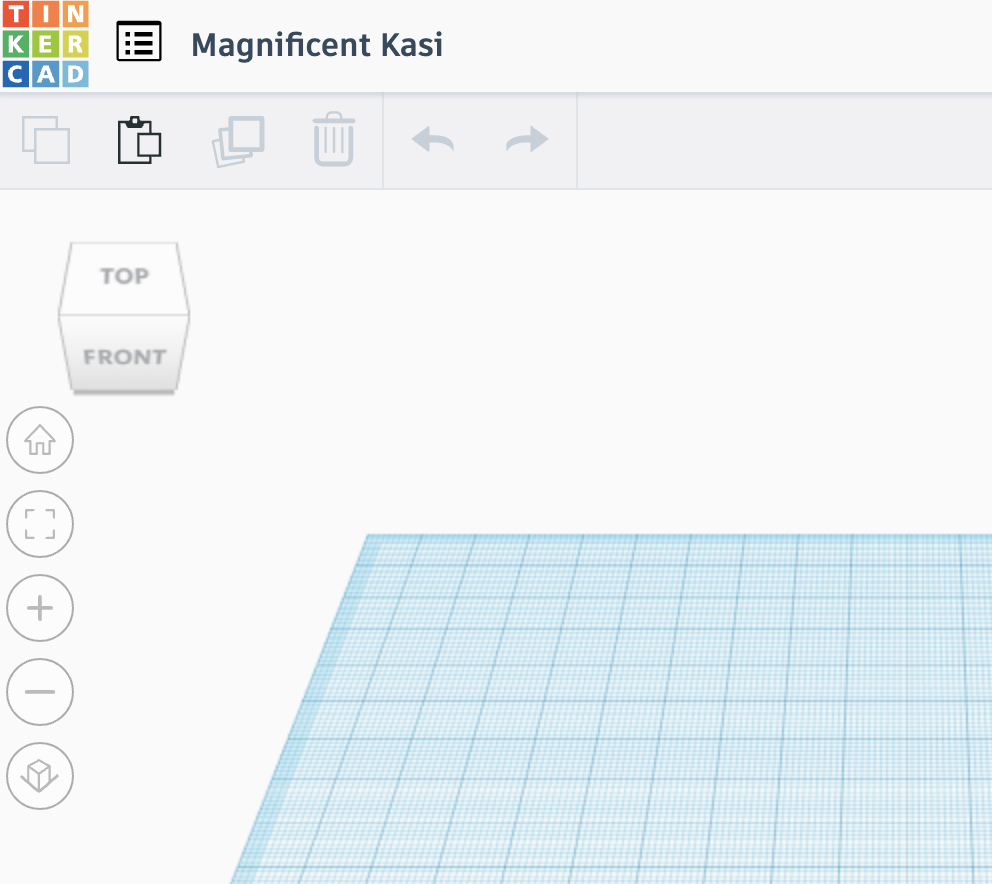
Click on the name and then type in Cookie Cutter for this design.
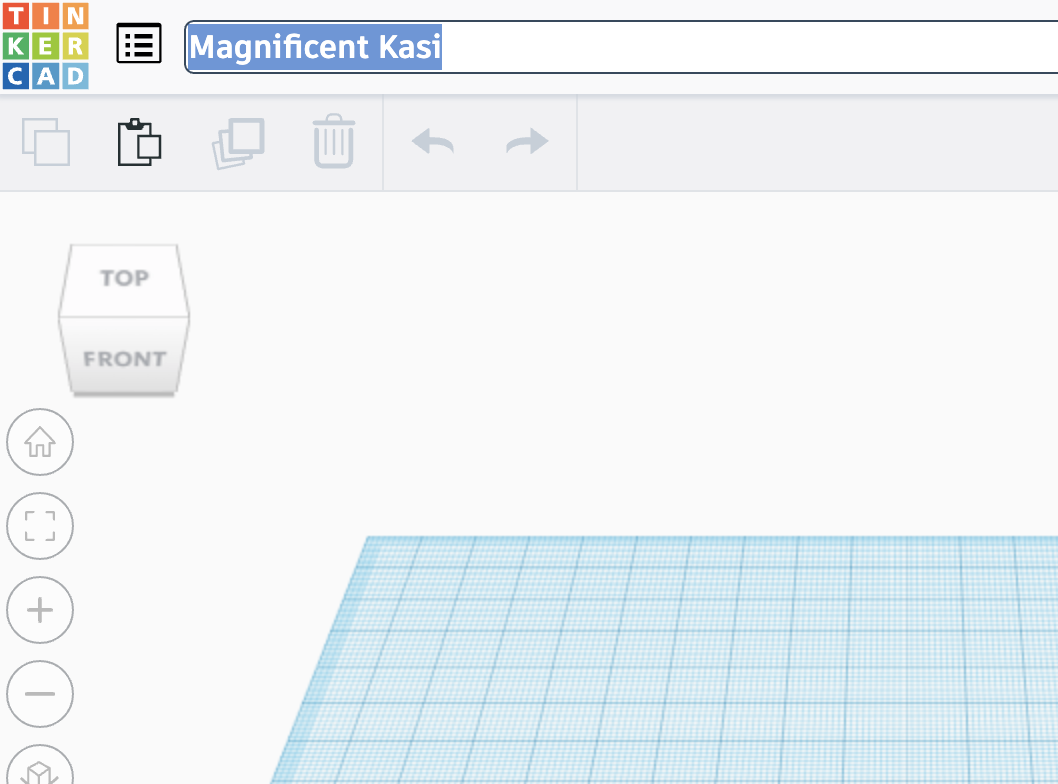
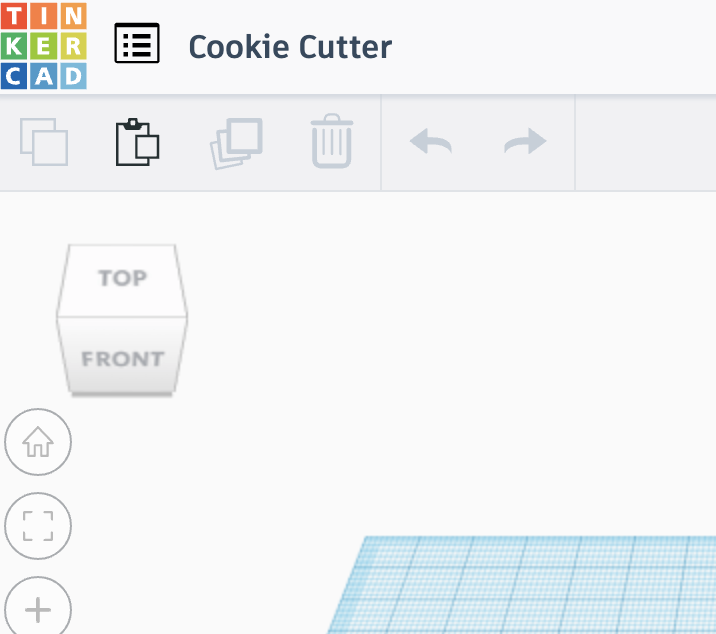
Hit “Enter” or “Return” to apply the new name.
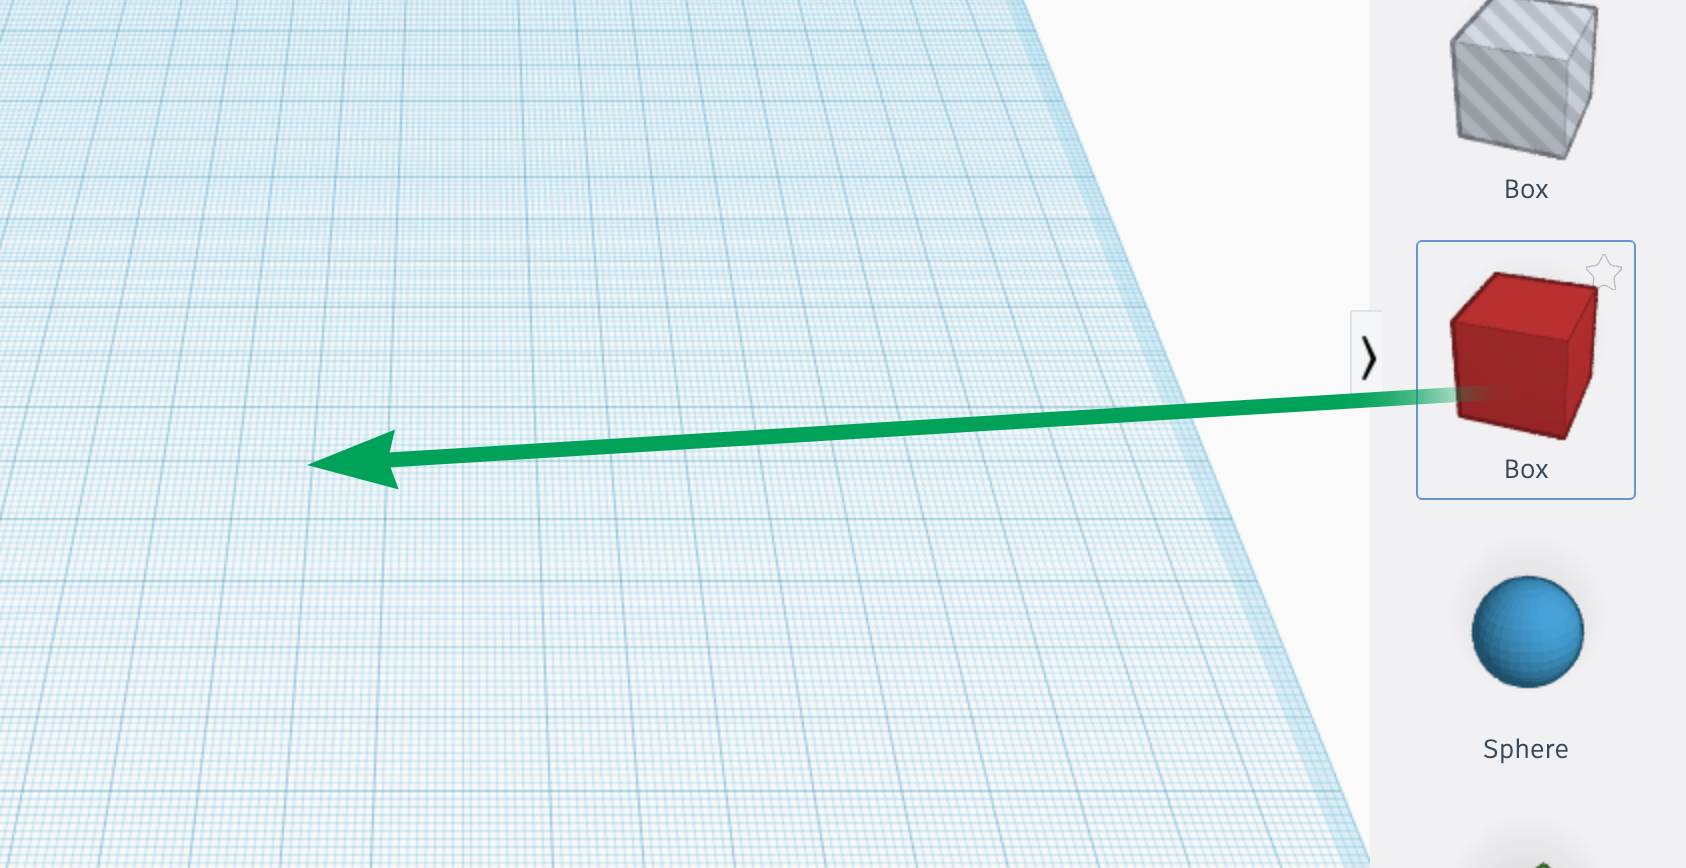
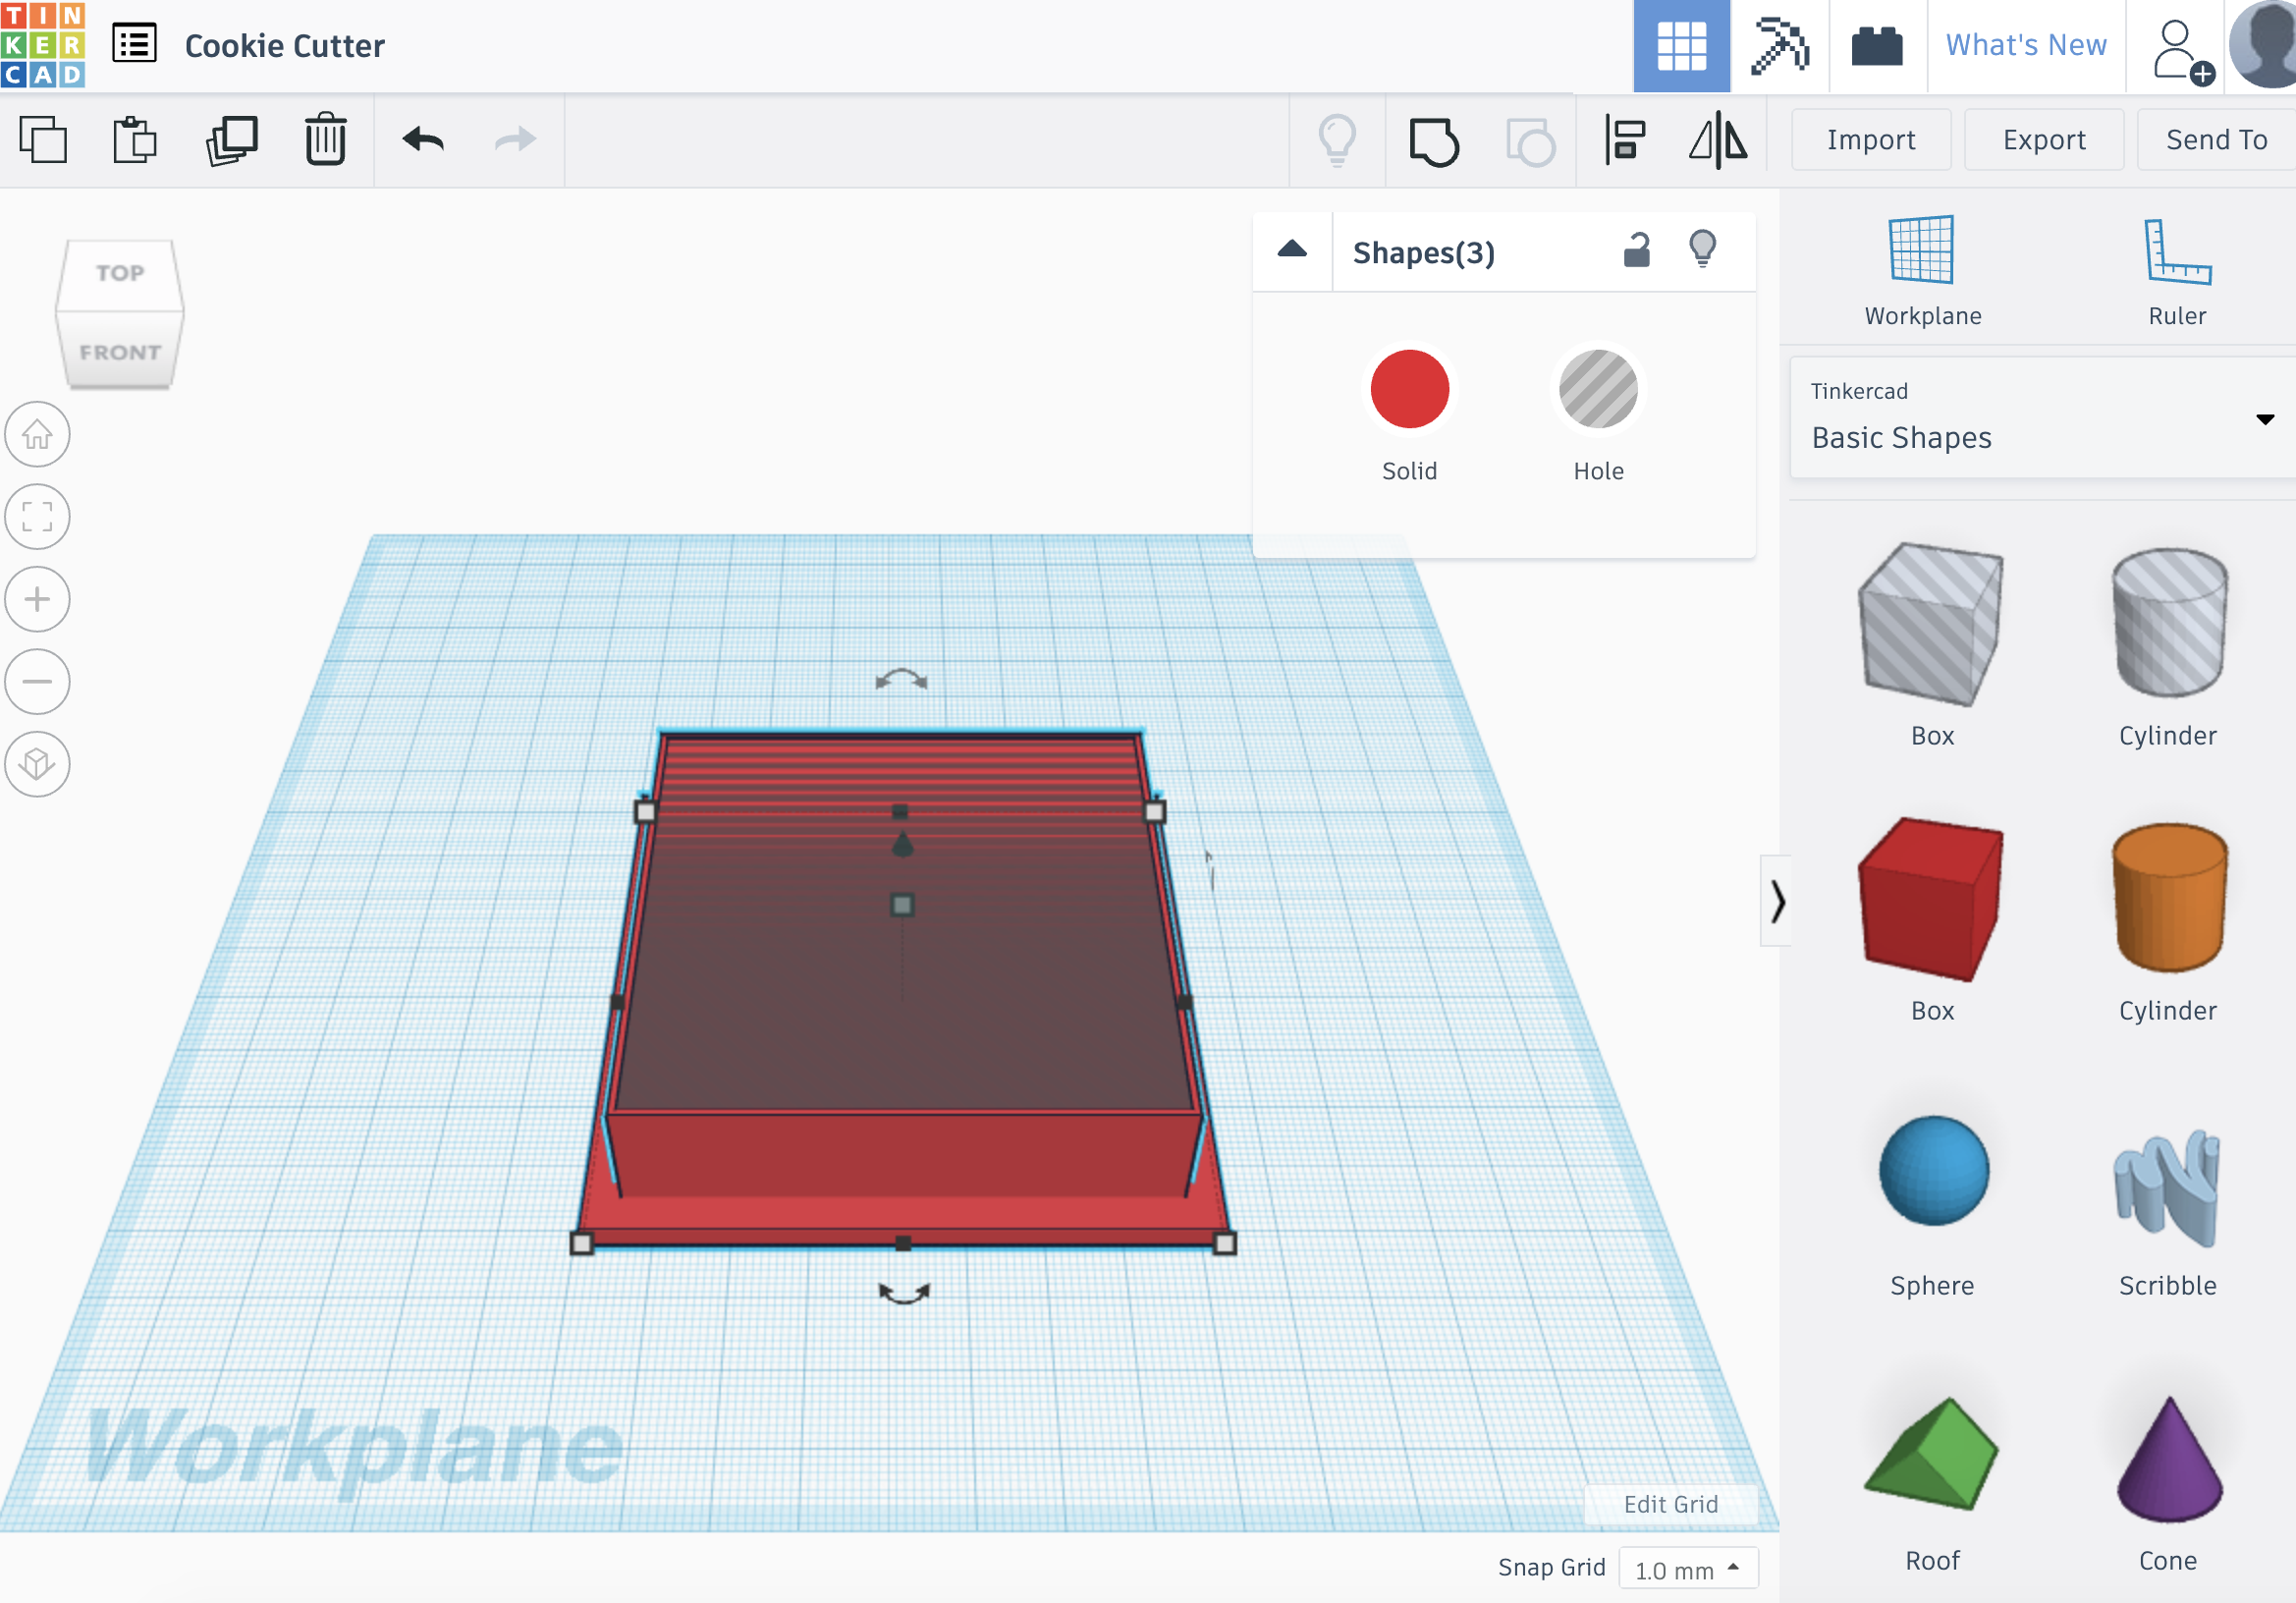
Start creating a square cookie cutter with the Box shape found on the right side of the screen.
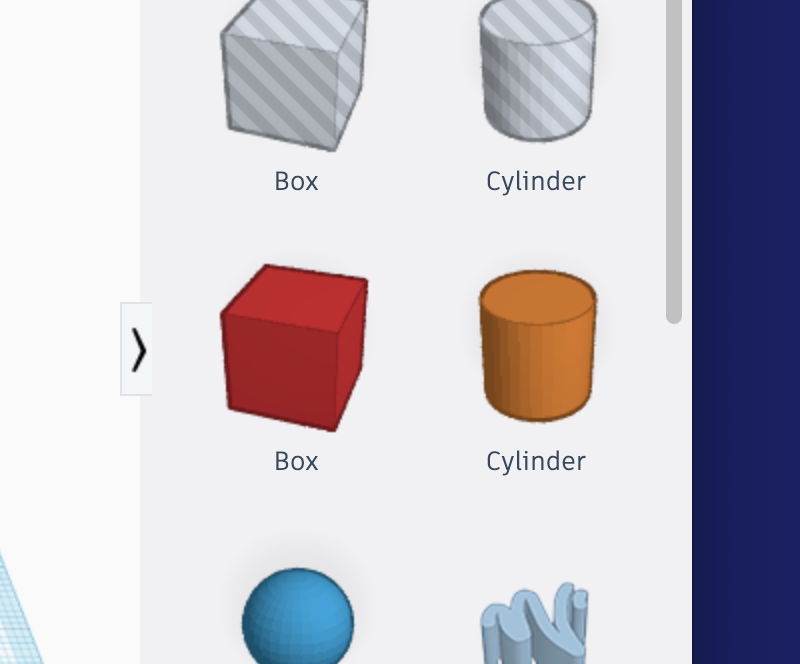
To add it to your design, click-and-drag it to the middle of the Workplane.
Once placed, you’ll see resize handles on the shape and the Shape tools panel. You can click the triangle in the upper left corner of the panel if you want to hide the panel’s adjustment sliders.
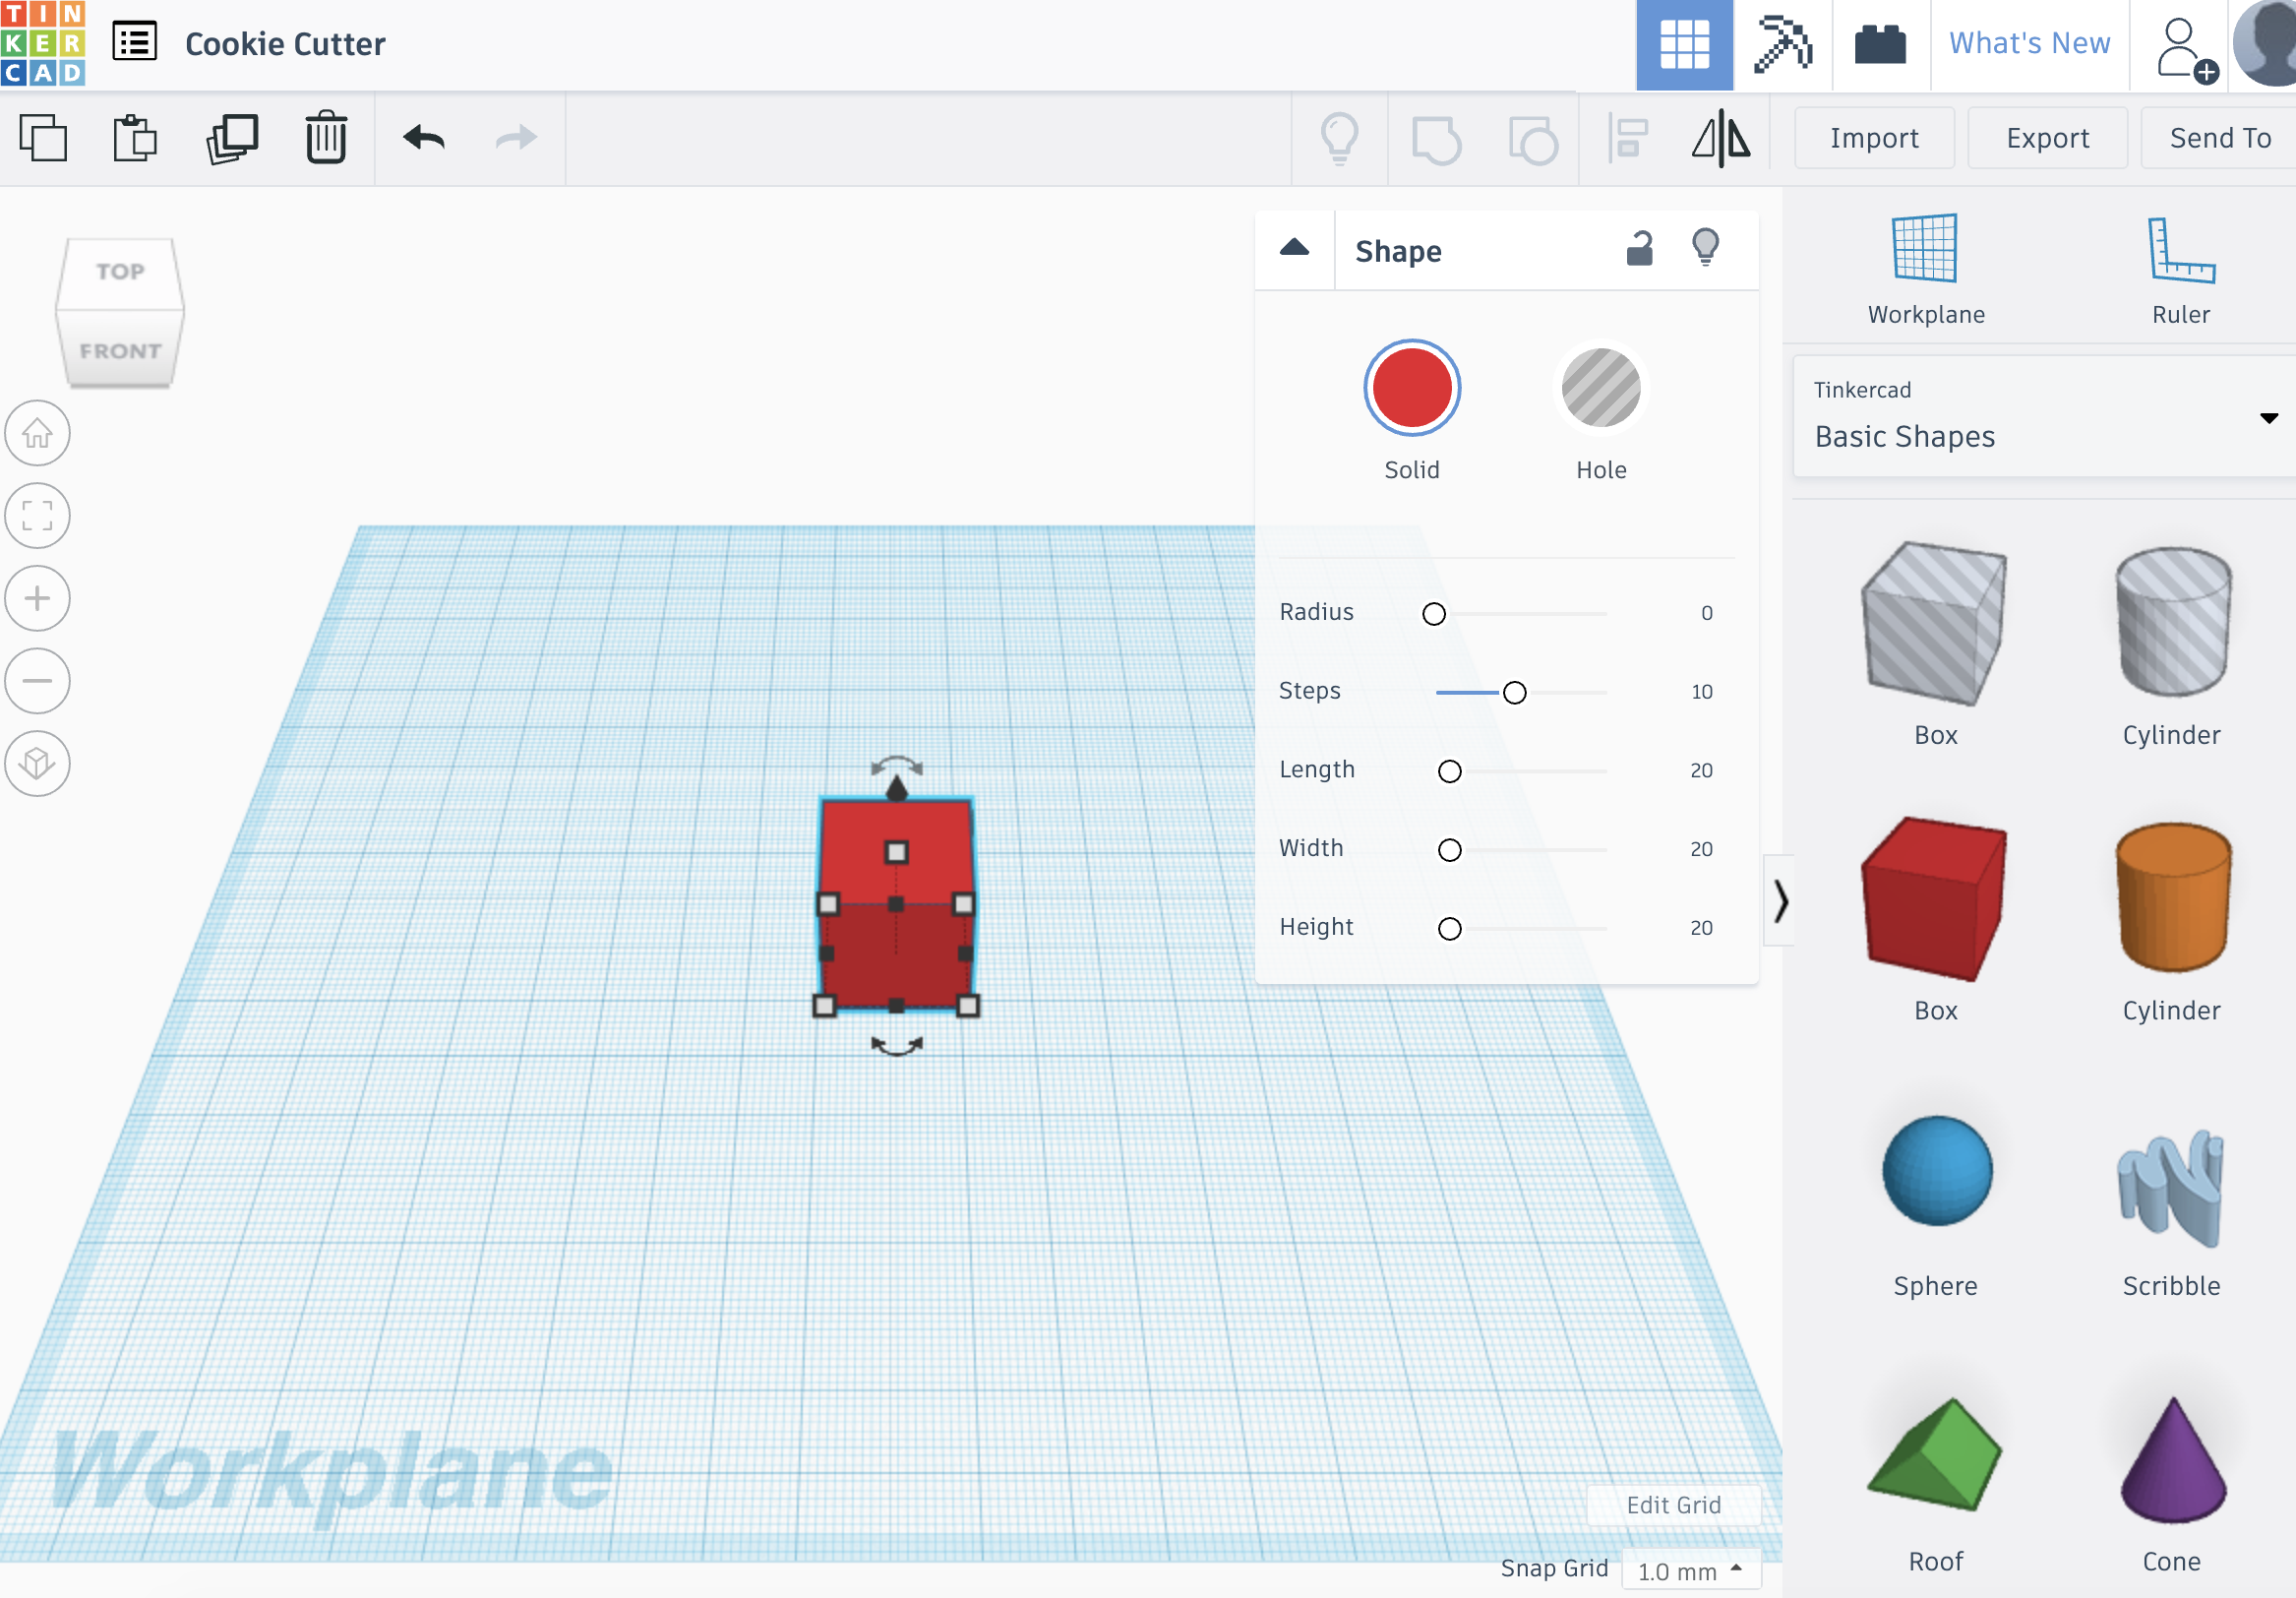
First the basic shape needs to be resized. This can be done by clicking and dragging the handles, but if you want to be precise, you can click on the handles and type in the size you want.
Click the lower right handle.
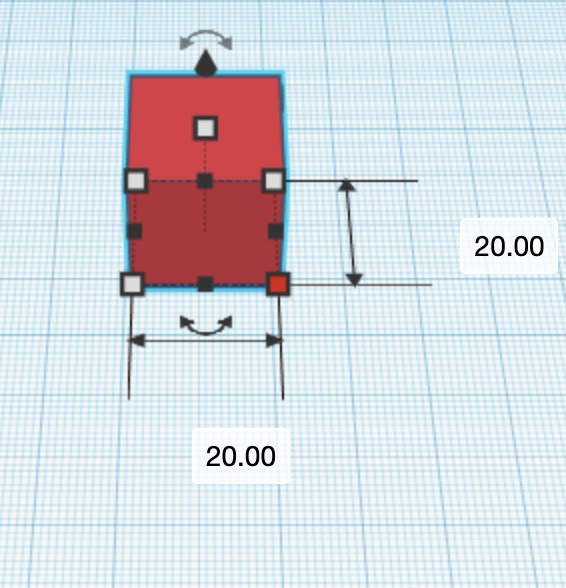
Click on one of the 20.00s and type in “70.”
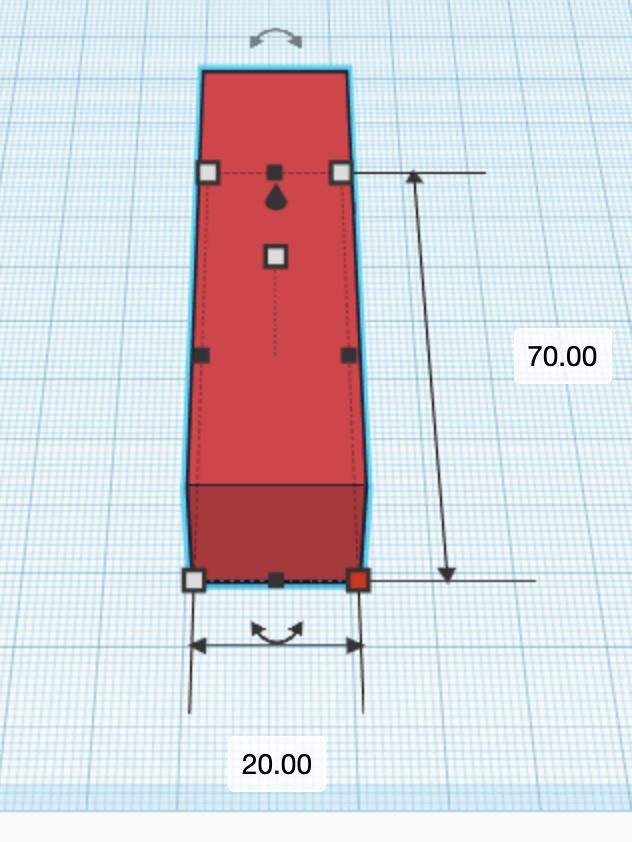
Click on the same handle and change the other side of the cube to 70mm.
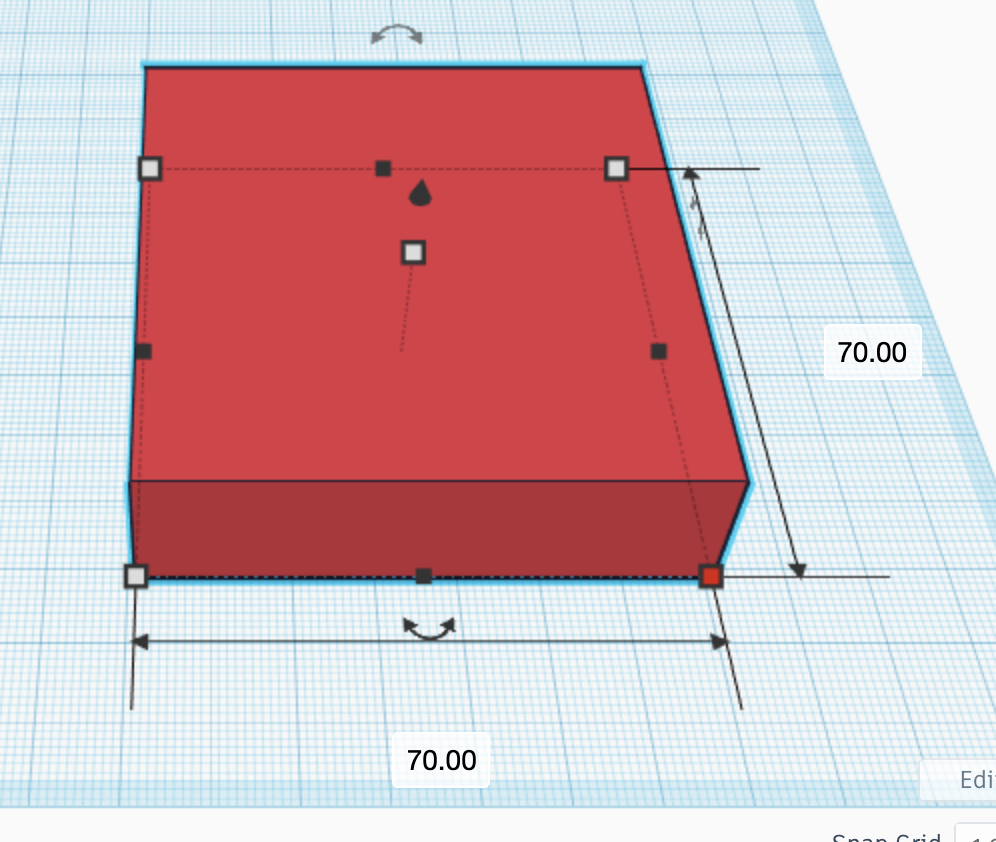
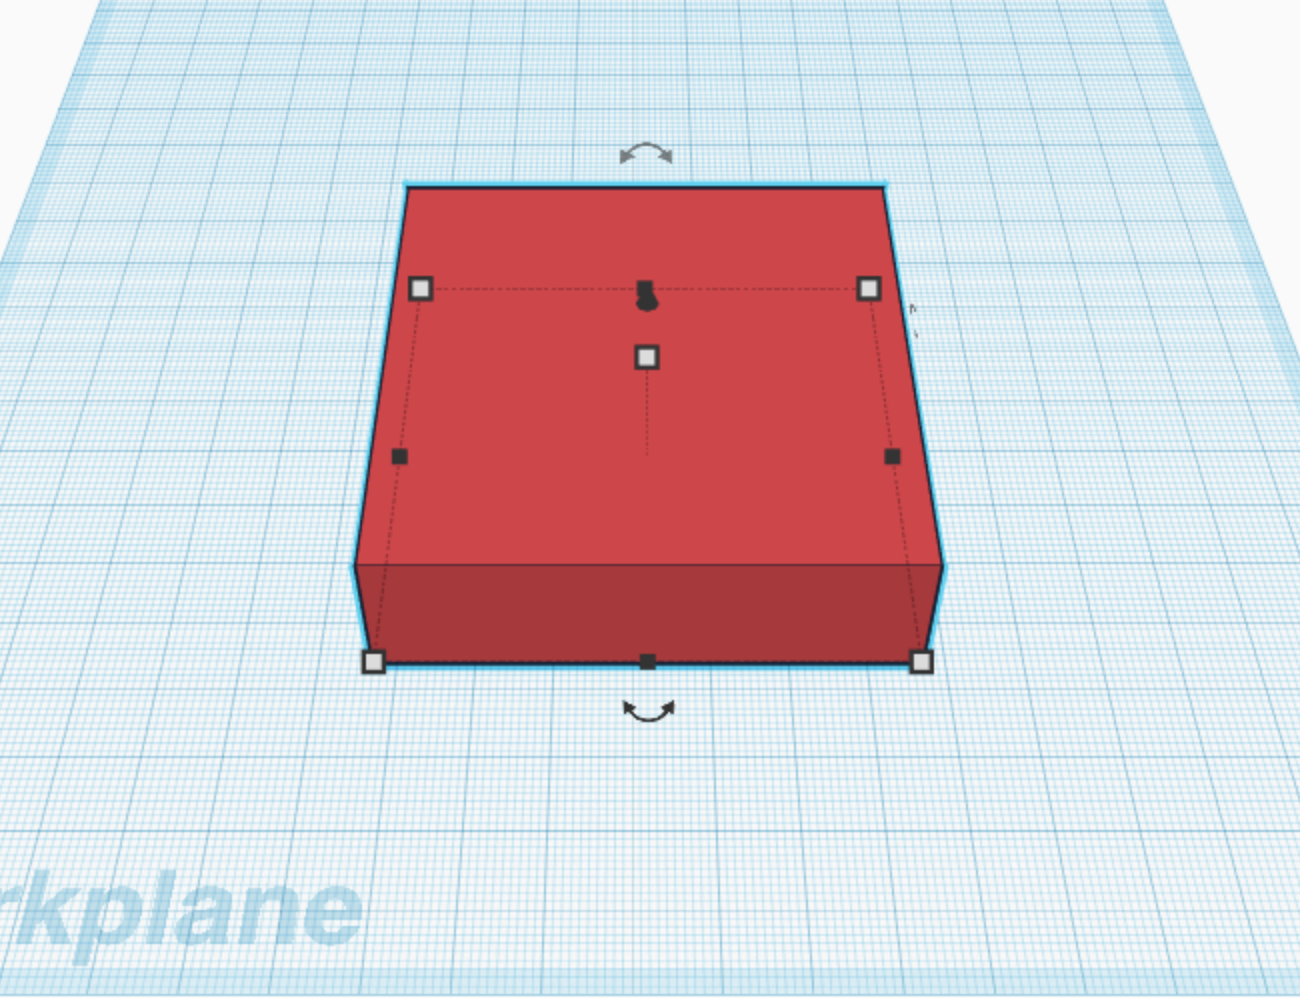
Click and drag the shape to reposition it in the center of the Workplane.
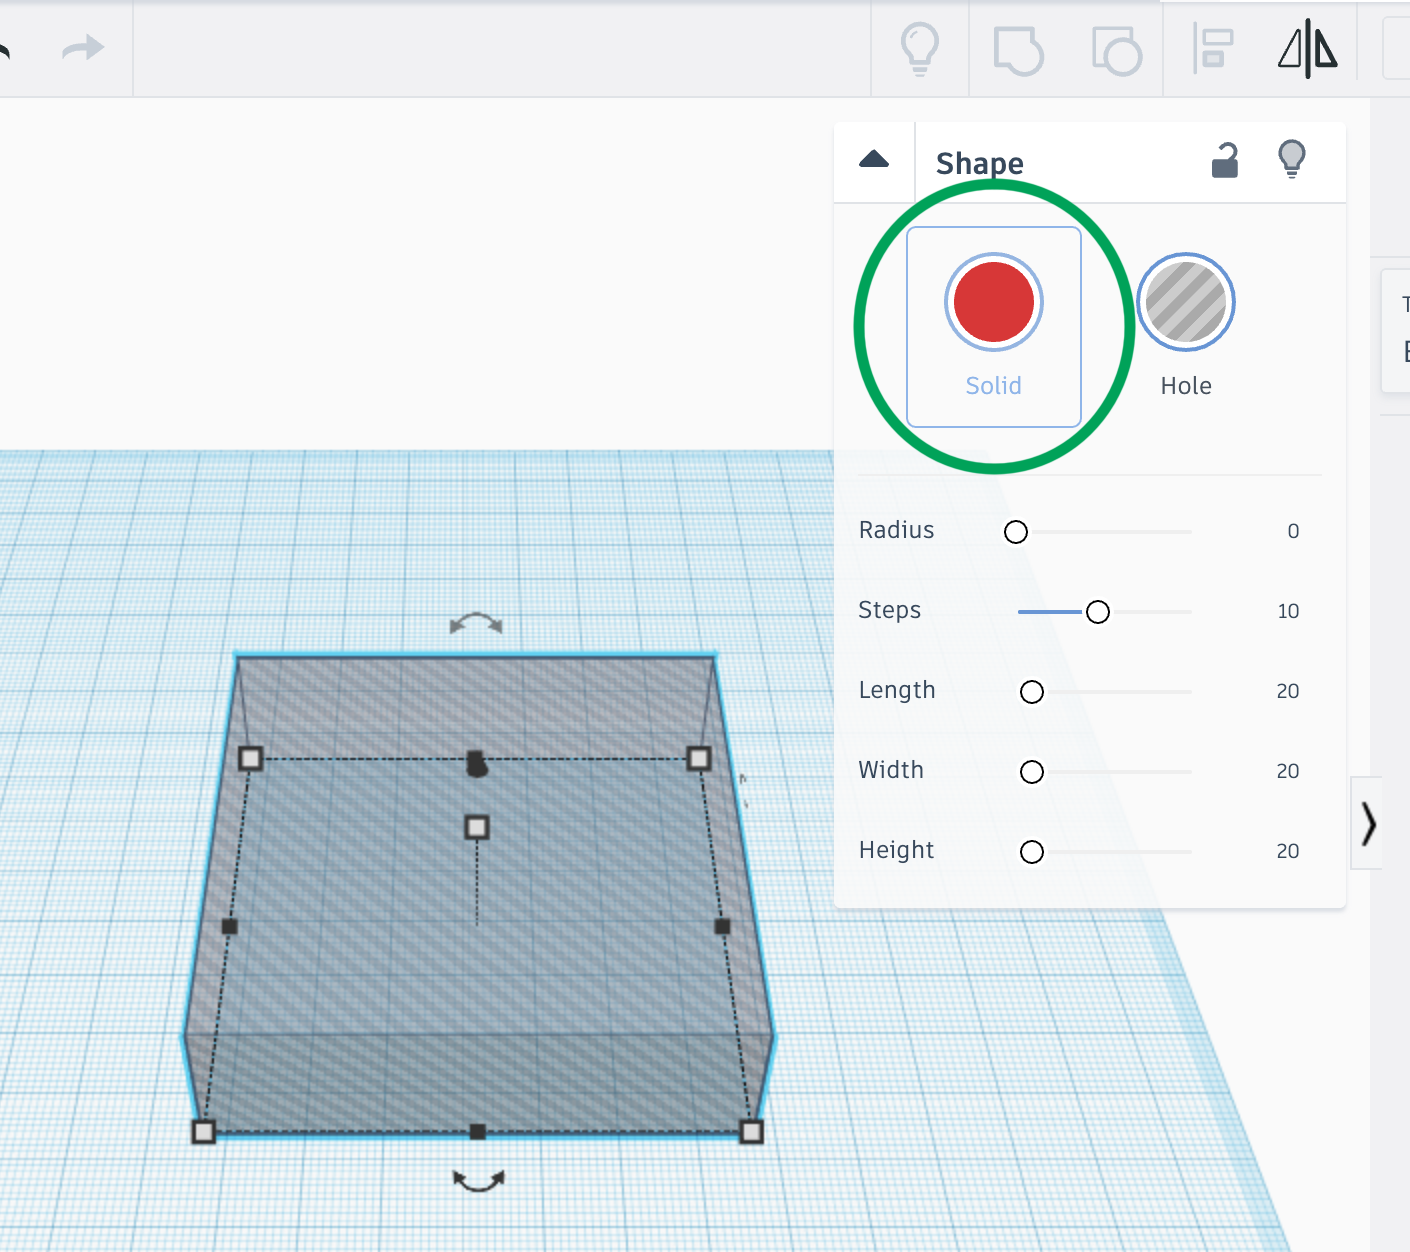
This shape will become the hole in your cookie cutter. Change this shape from a solid to a “hole” by clicking the “Hole” button on in the Shape tools.
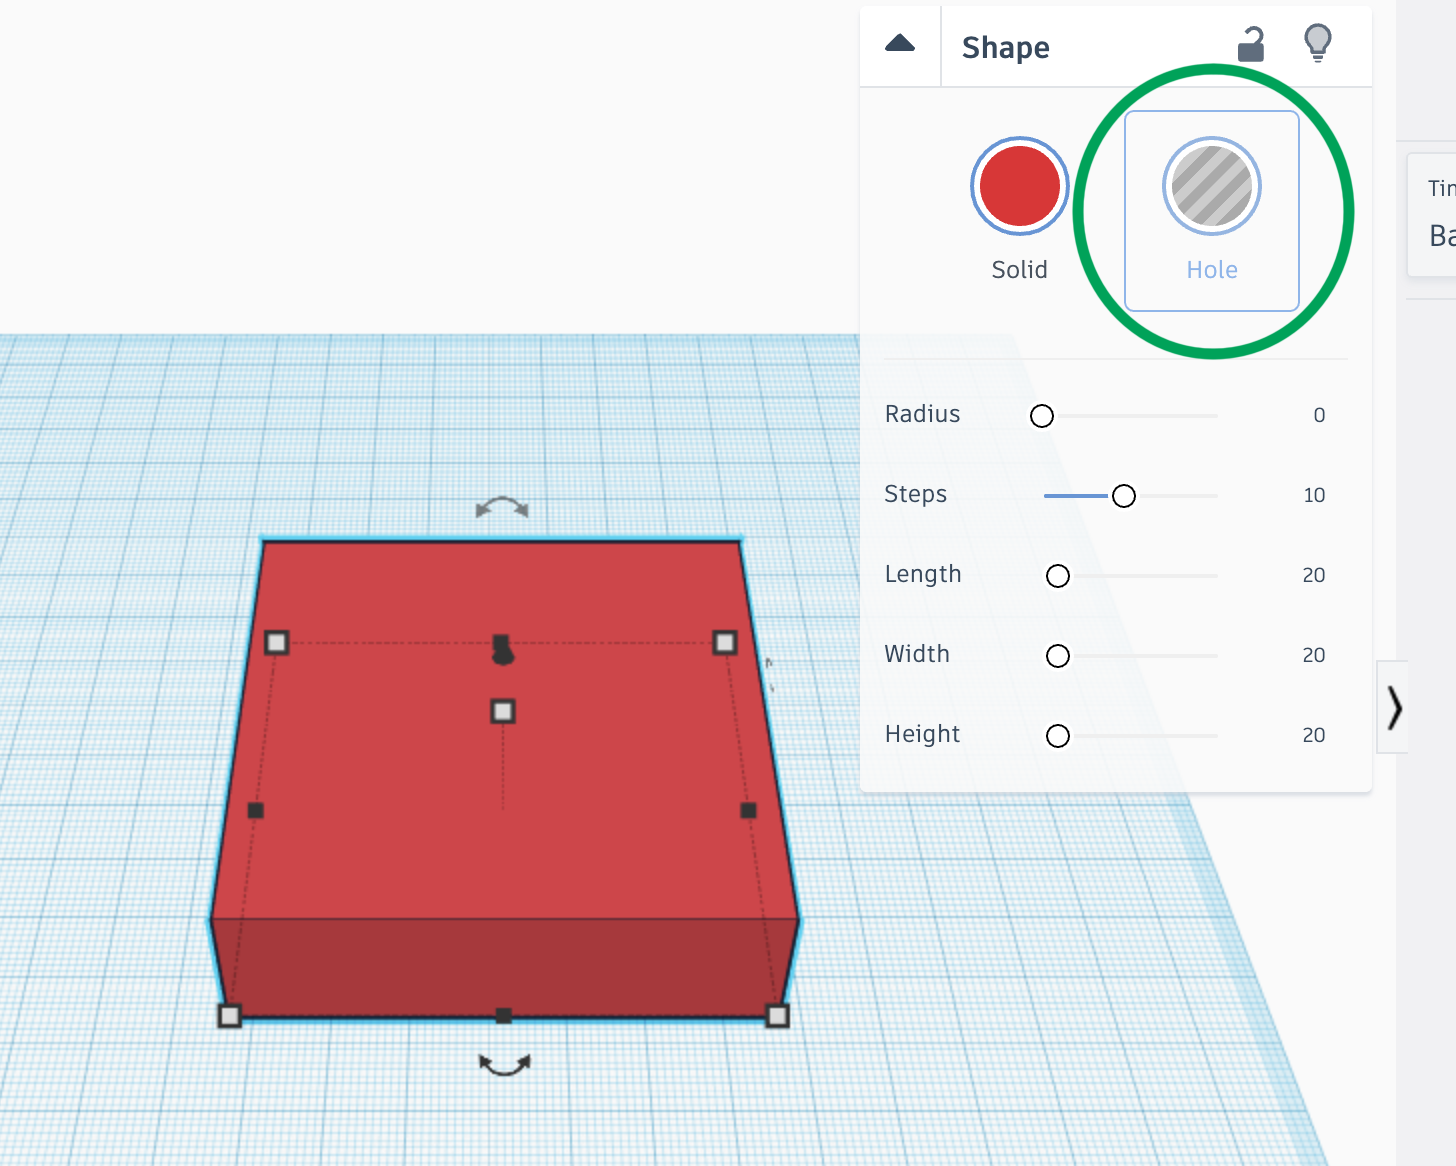
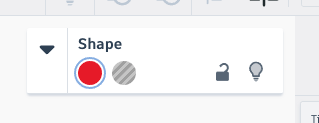
When the Shape tools are collapsed, the Solid and Hole buttons are still available, but are unlabeled.
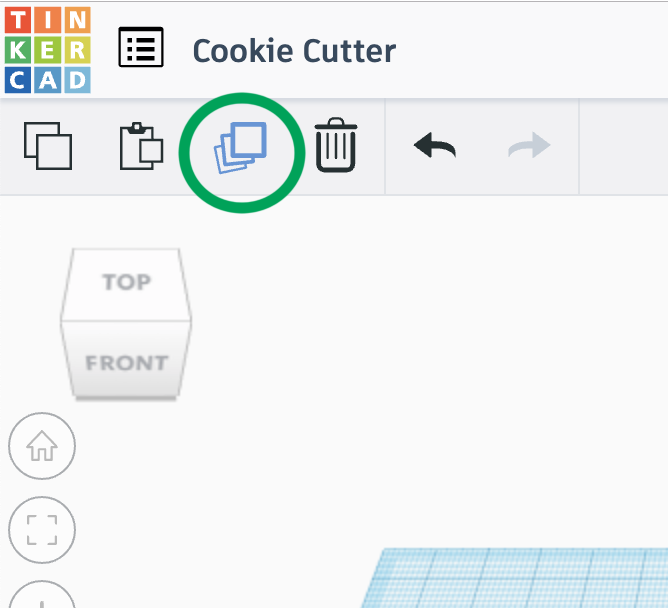
Next, duplicate this shape by clicking the duplicate button towards the upper left corner of the screen.
Change this duplicated shape into a solid by clicking the Solid button in the shape tools.
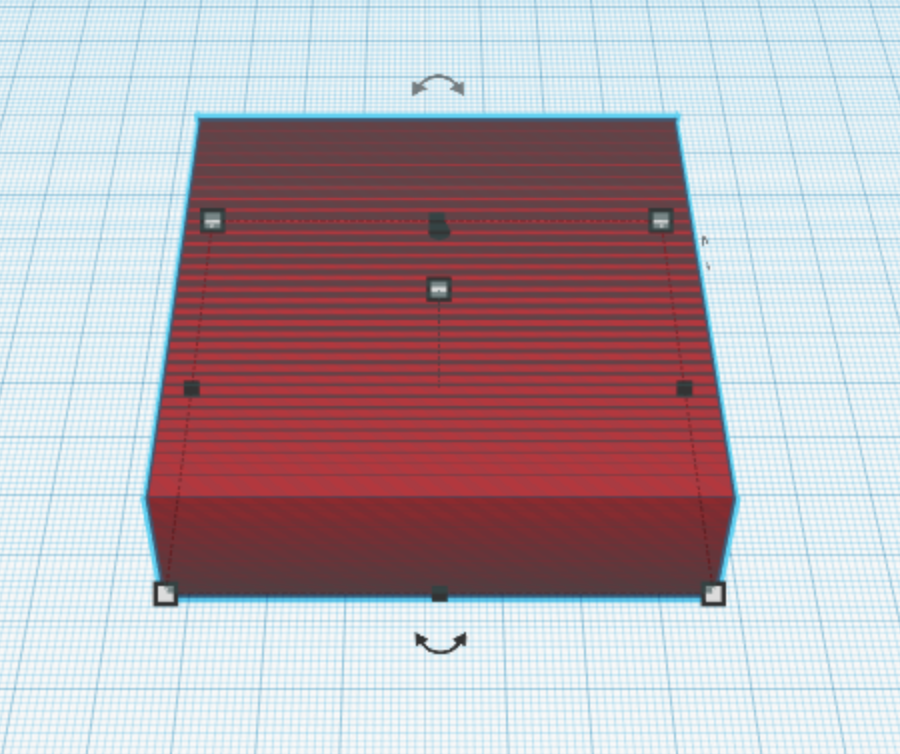
You will be able to tell that you have overlapping Hole and Solid shapes from the striations on the solid shape.
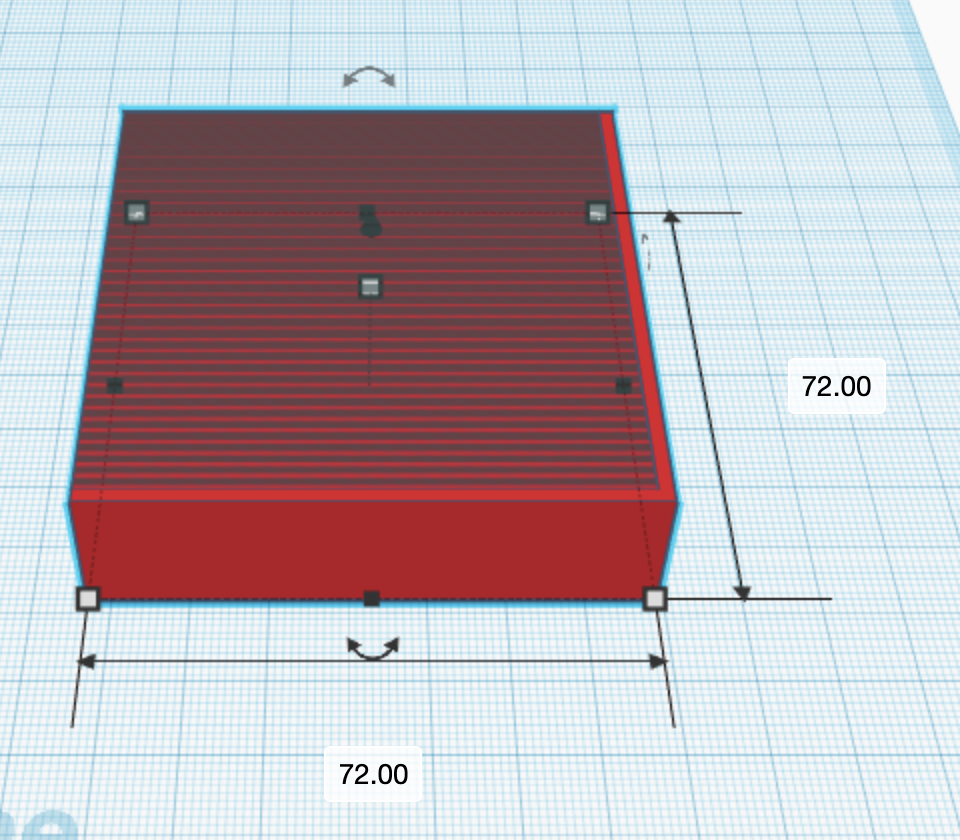
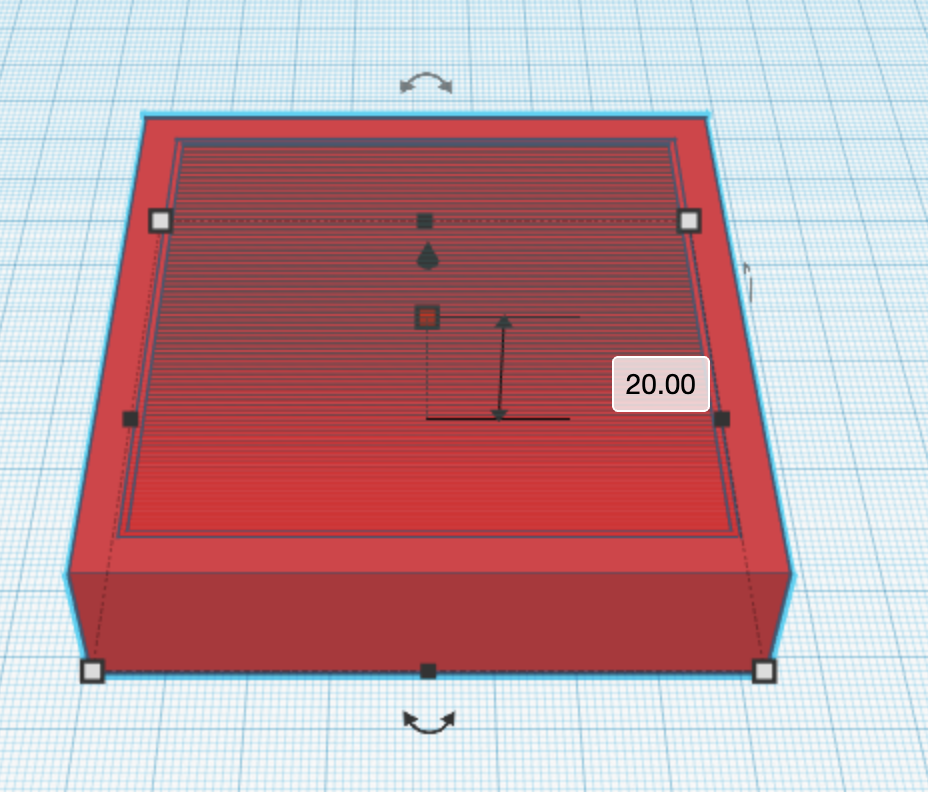
Resize this shape, which should still be selected, by again clicking the lower-right handle.

Change the size to 72 x 72 mm. Adding 2 mm will result in the cookie cutter having a 1 mm thick blade.
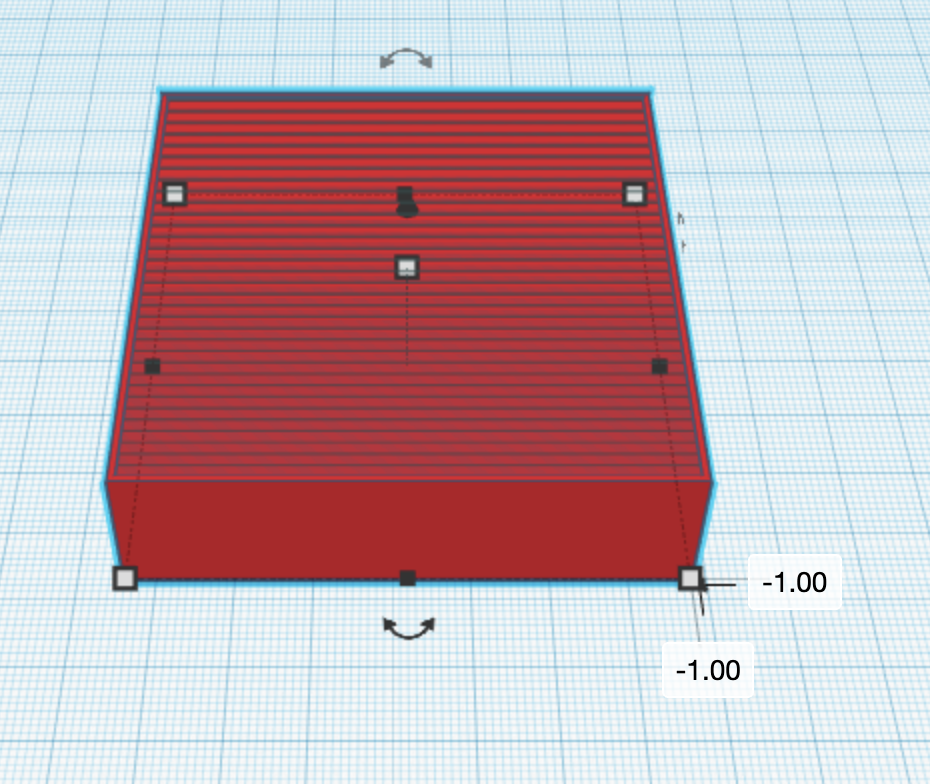
Click and drag the shape to reposition it so that the hole is centered within the solid shape.
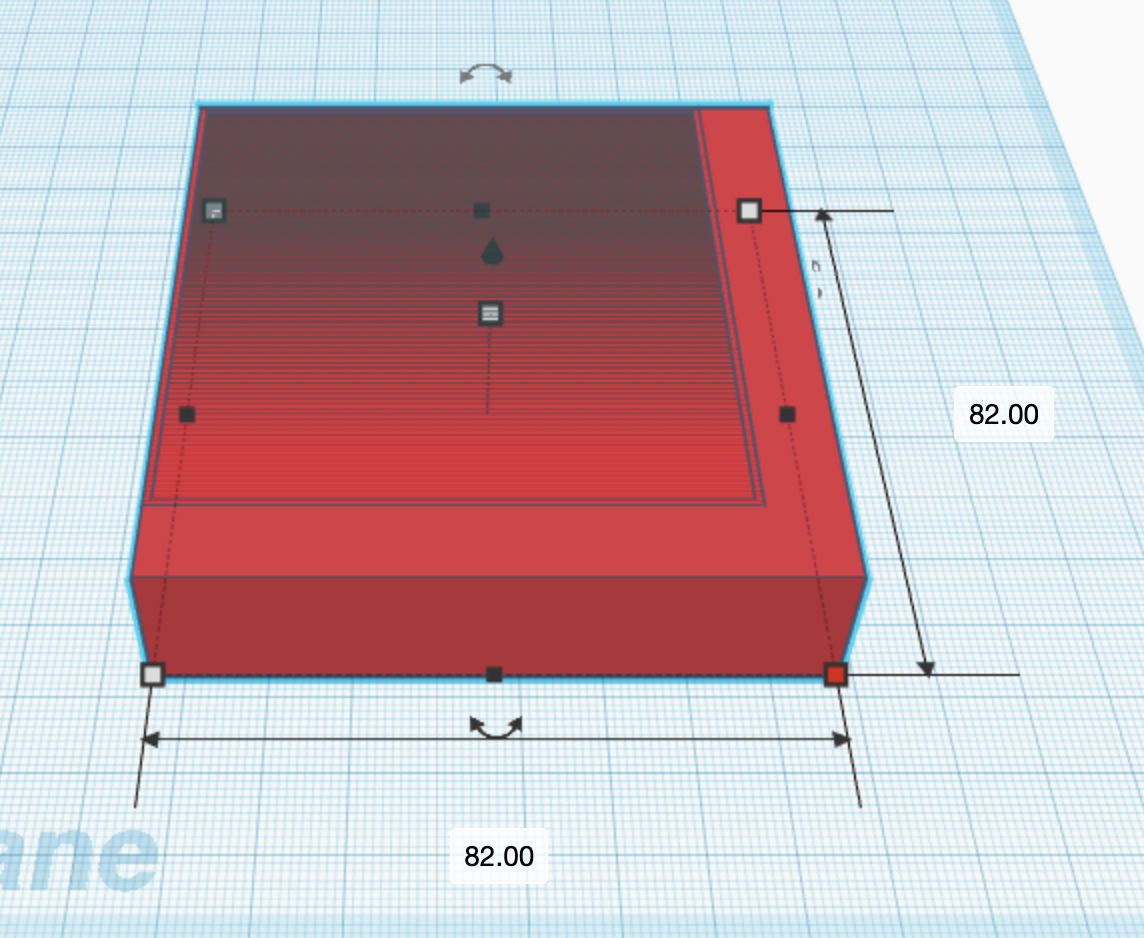
Click the duplicate button again to duplicte this shape and resize it to 82 x 82 mm.
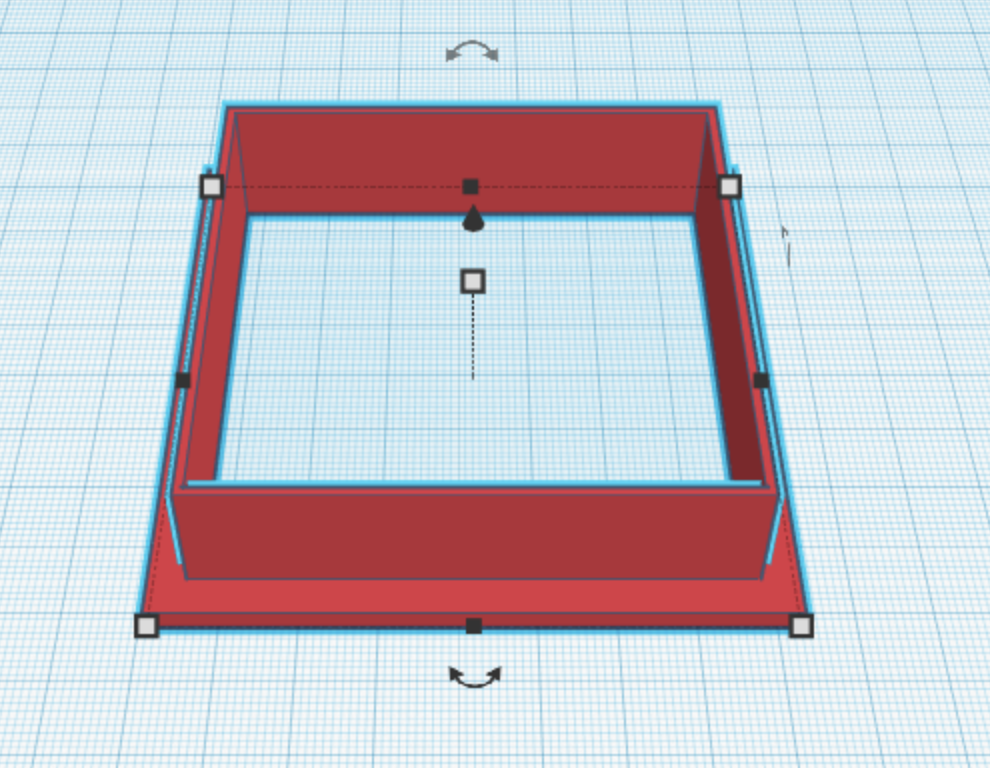
Click and drag the new shape so that it’s centered with the other two shapes.
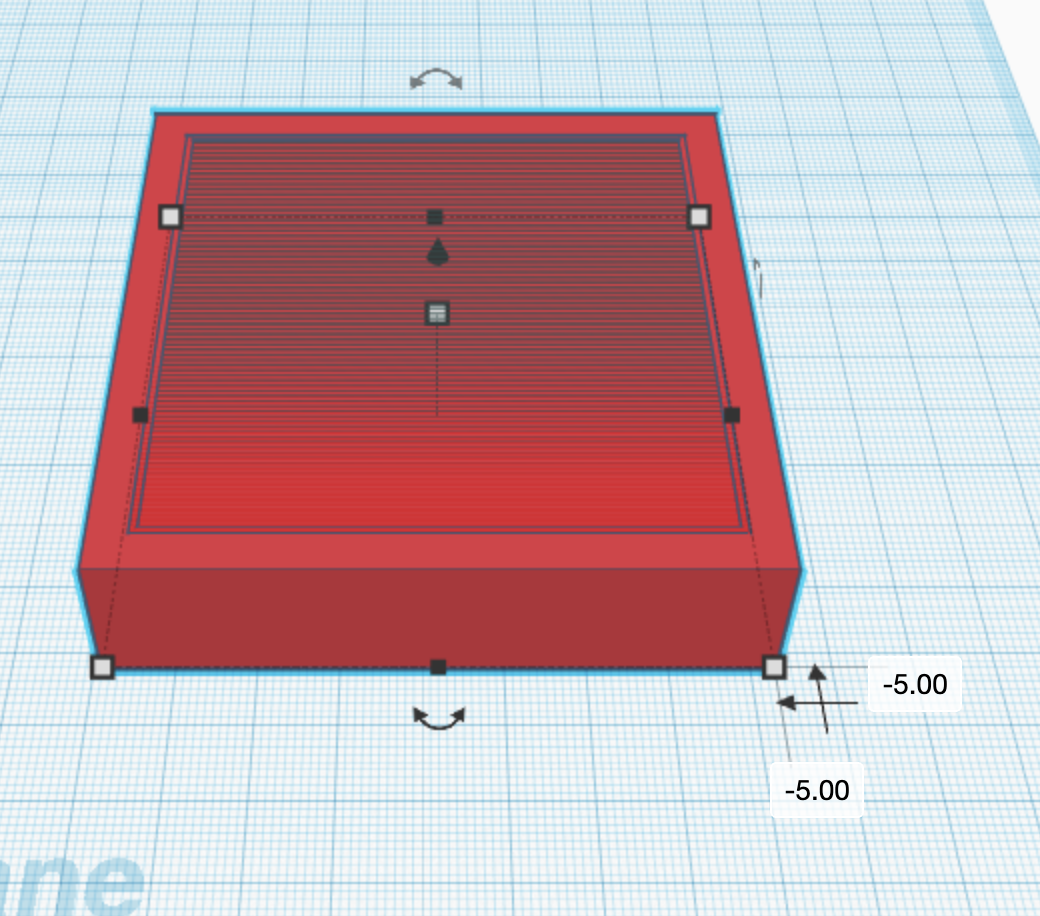
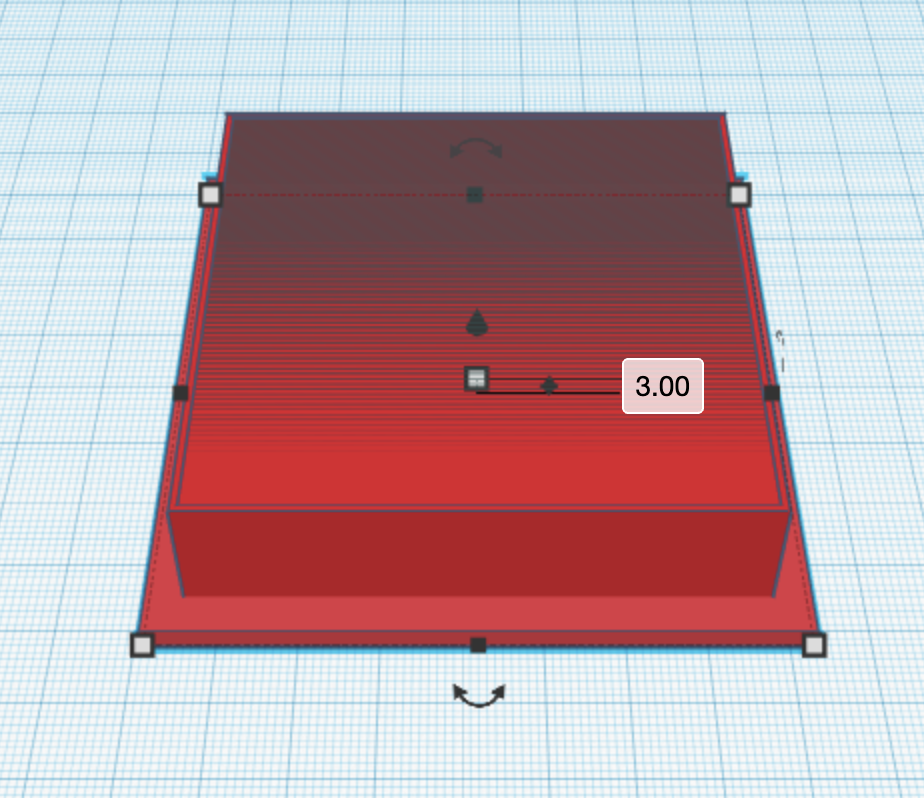
This shape needs to be shorter; click the handle in the middle of the shape to change the height. Click into the 20.00 field and type in “3.”
This creates a rim on the cookie cutter.
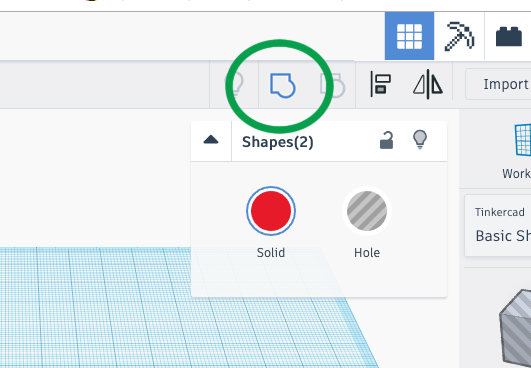
To finish the cookie cutter the three shapes need to be grouped together. Select all of them by holding “command” (Mac) or “control” (Windows) and hitting “A.”
Group the shapes together by clicking on the group icon, located above the shape panel.
Once grouped, the “hole” will be cut out from the other shapes and the grouped shape can be moved around as one shape.
The cookie cutter is now ready to be printed. Export it out of Tinkercad by clicking on the Export button located towards the upper right corner.
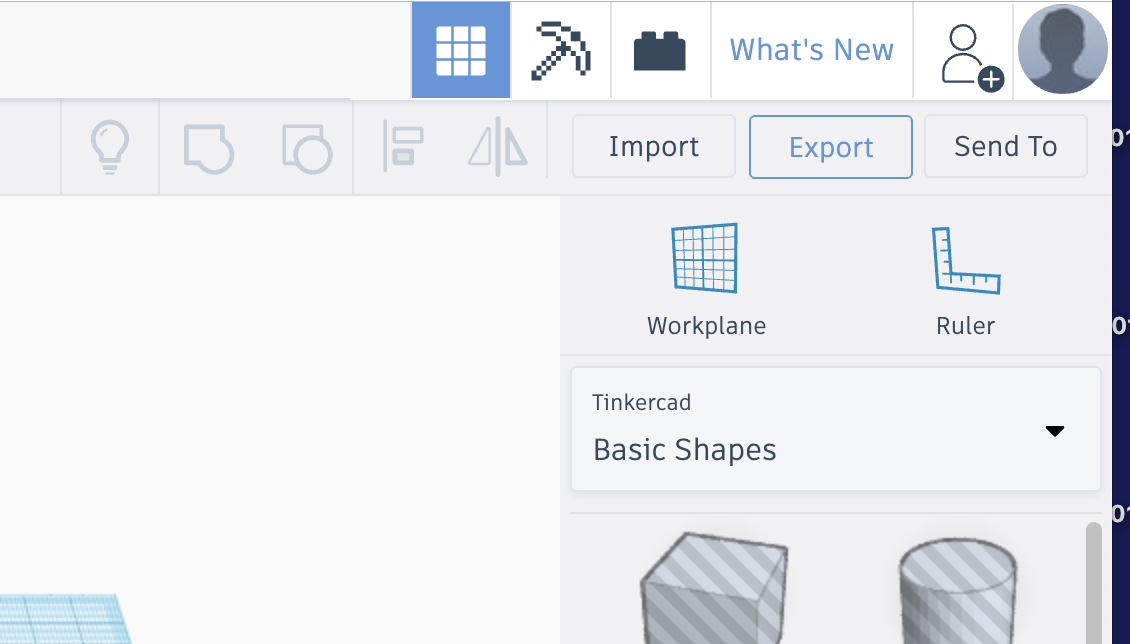
Export your design as an “.stl” file by clicking the “.STL” button.
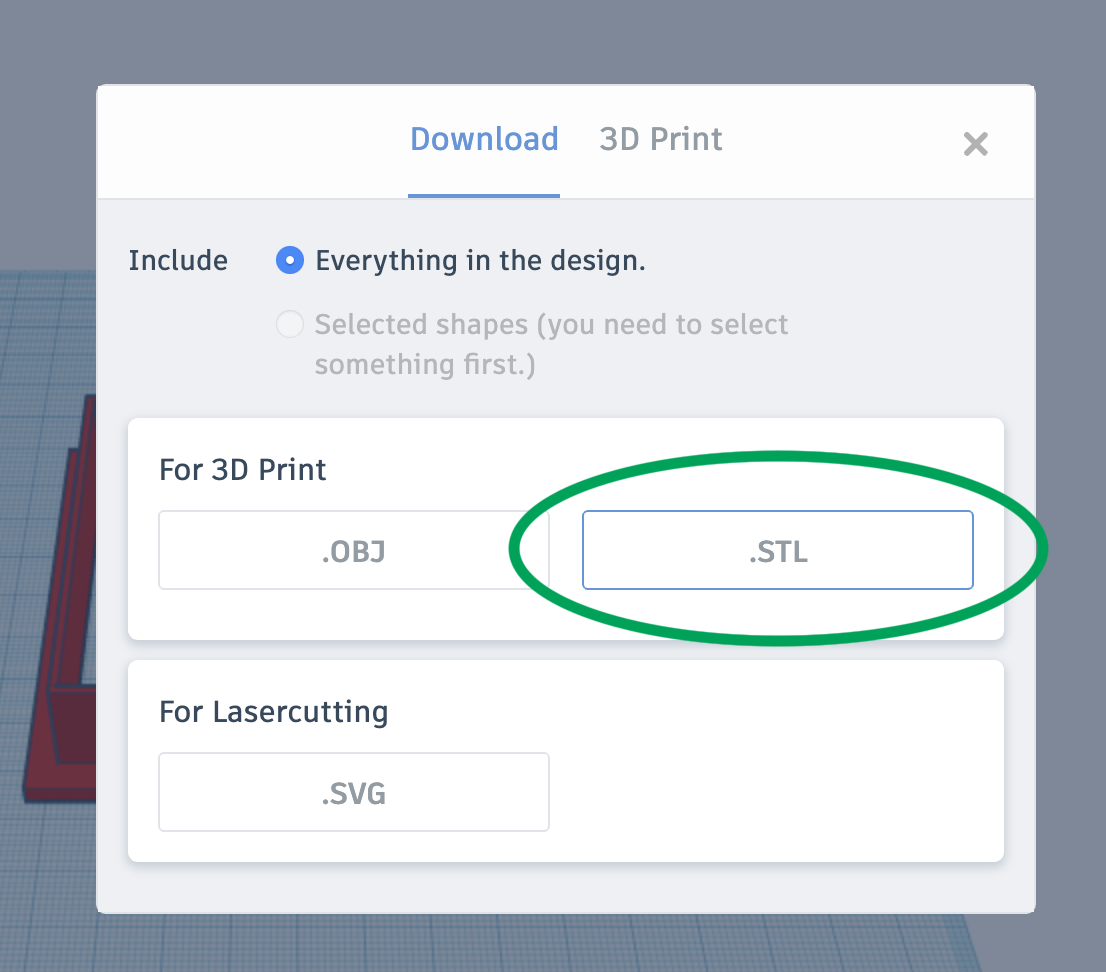
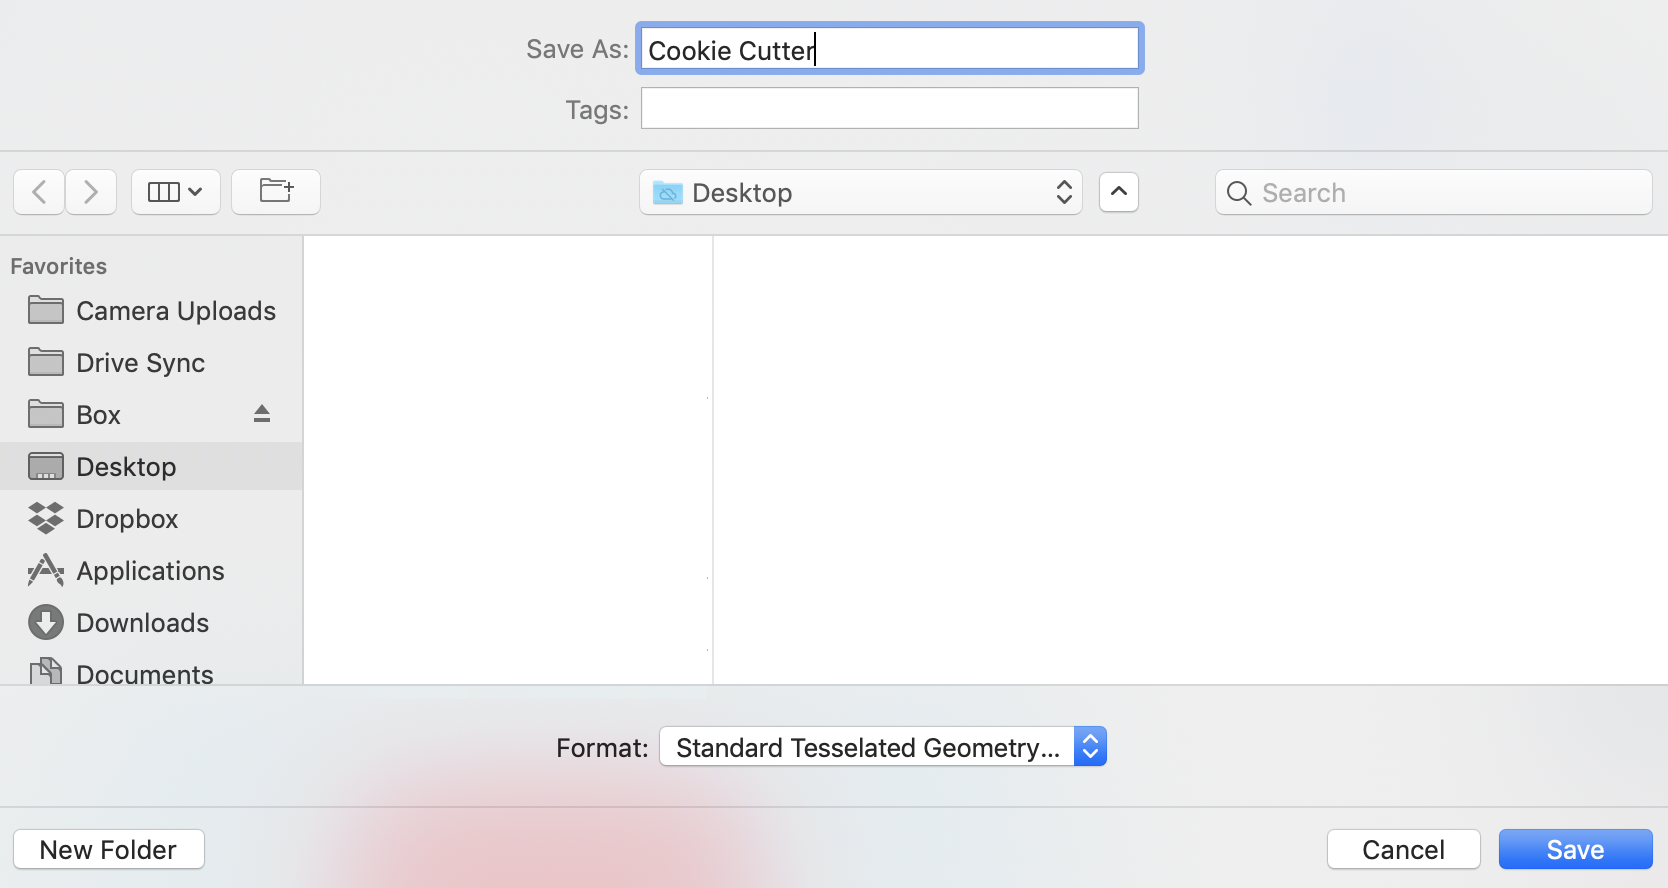
Save the file by clicking the “Save” button in the lower right hand corner of the dialogue box.
The exported file will have a preview of your design that likely will look like it’s oriented incorrectly.
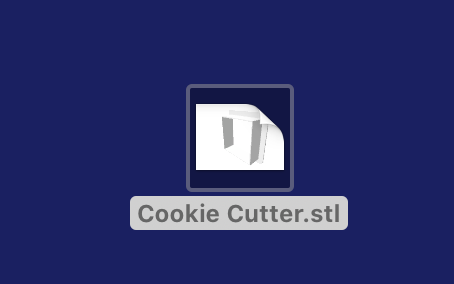
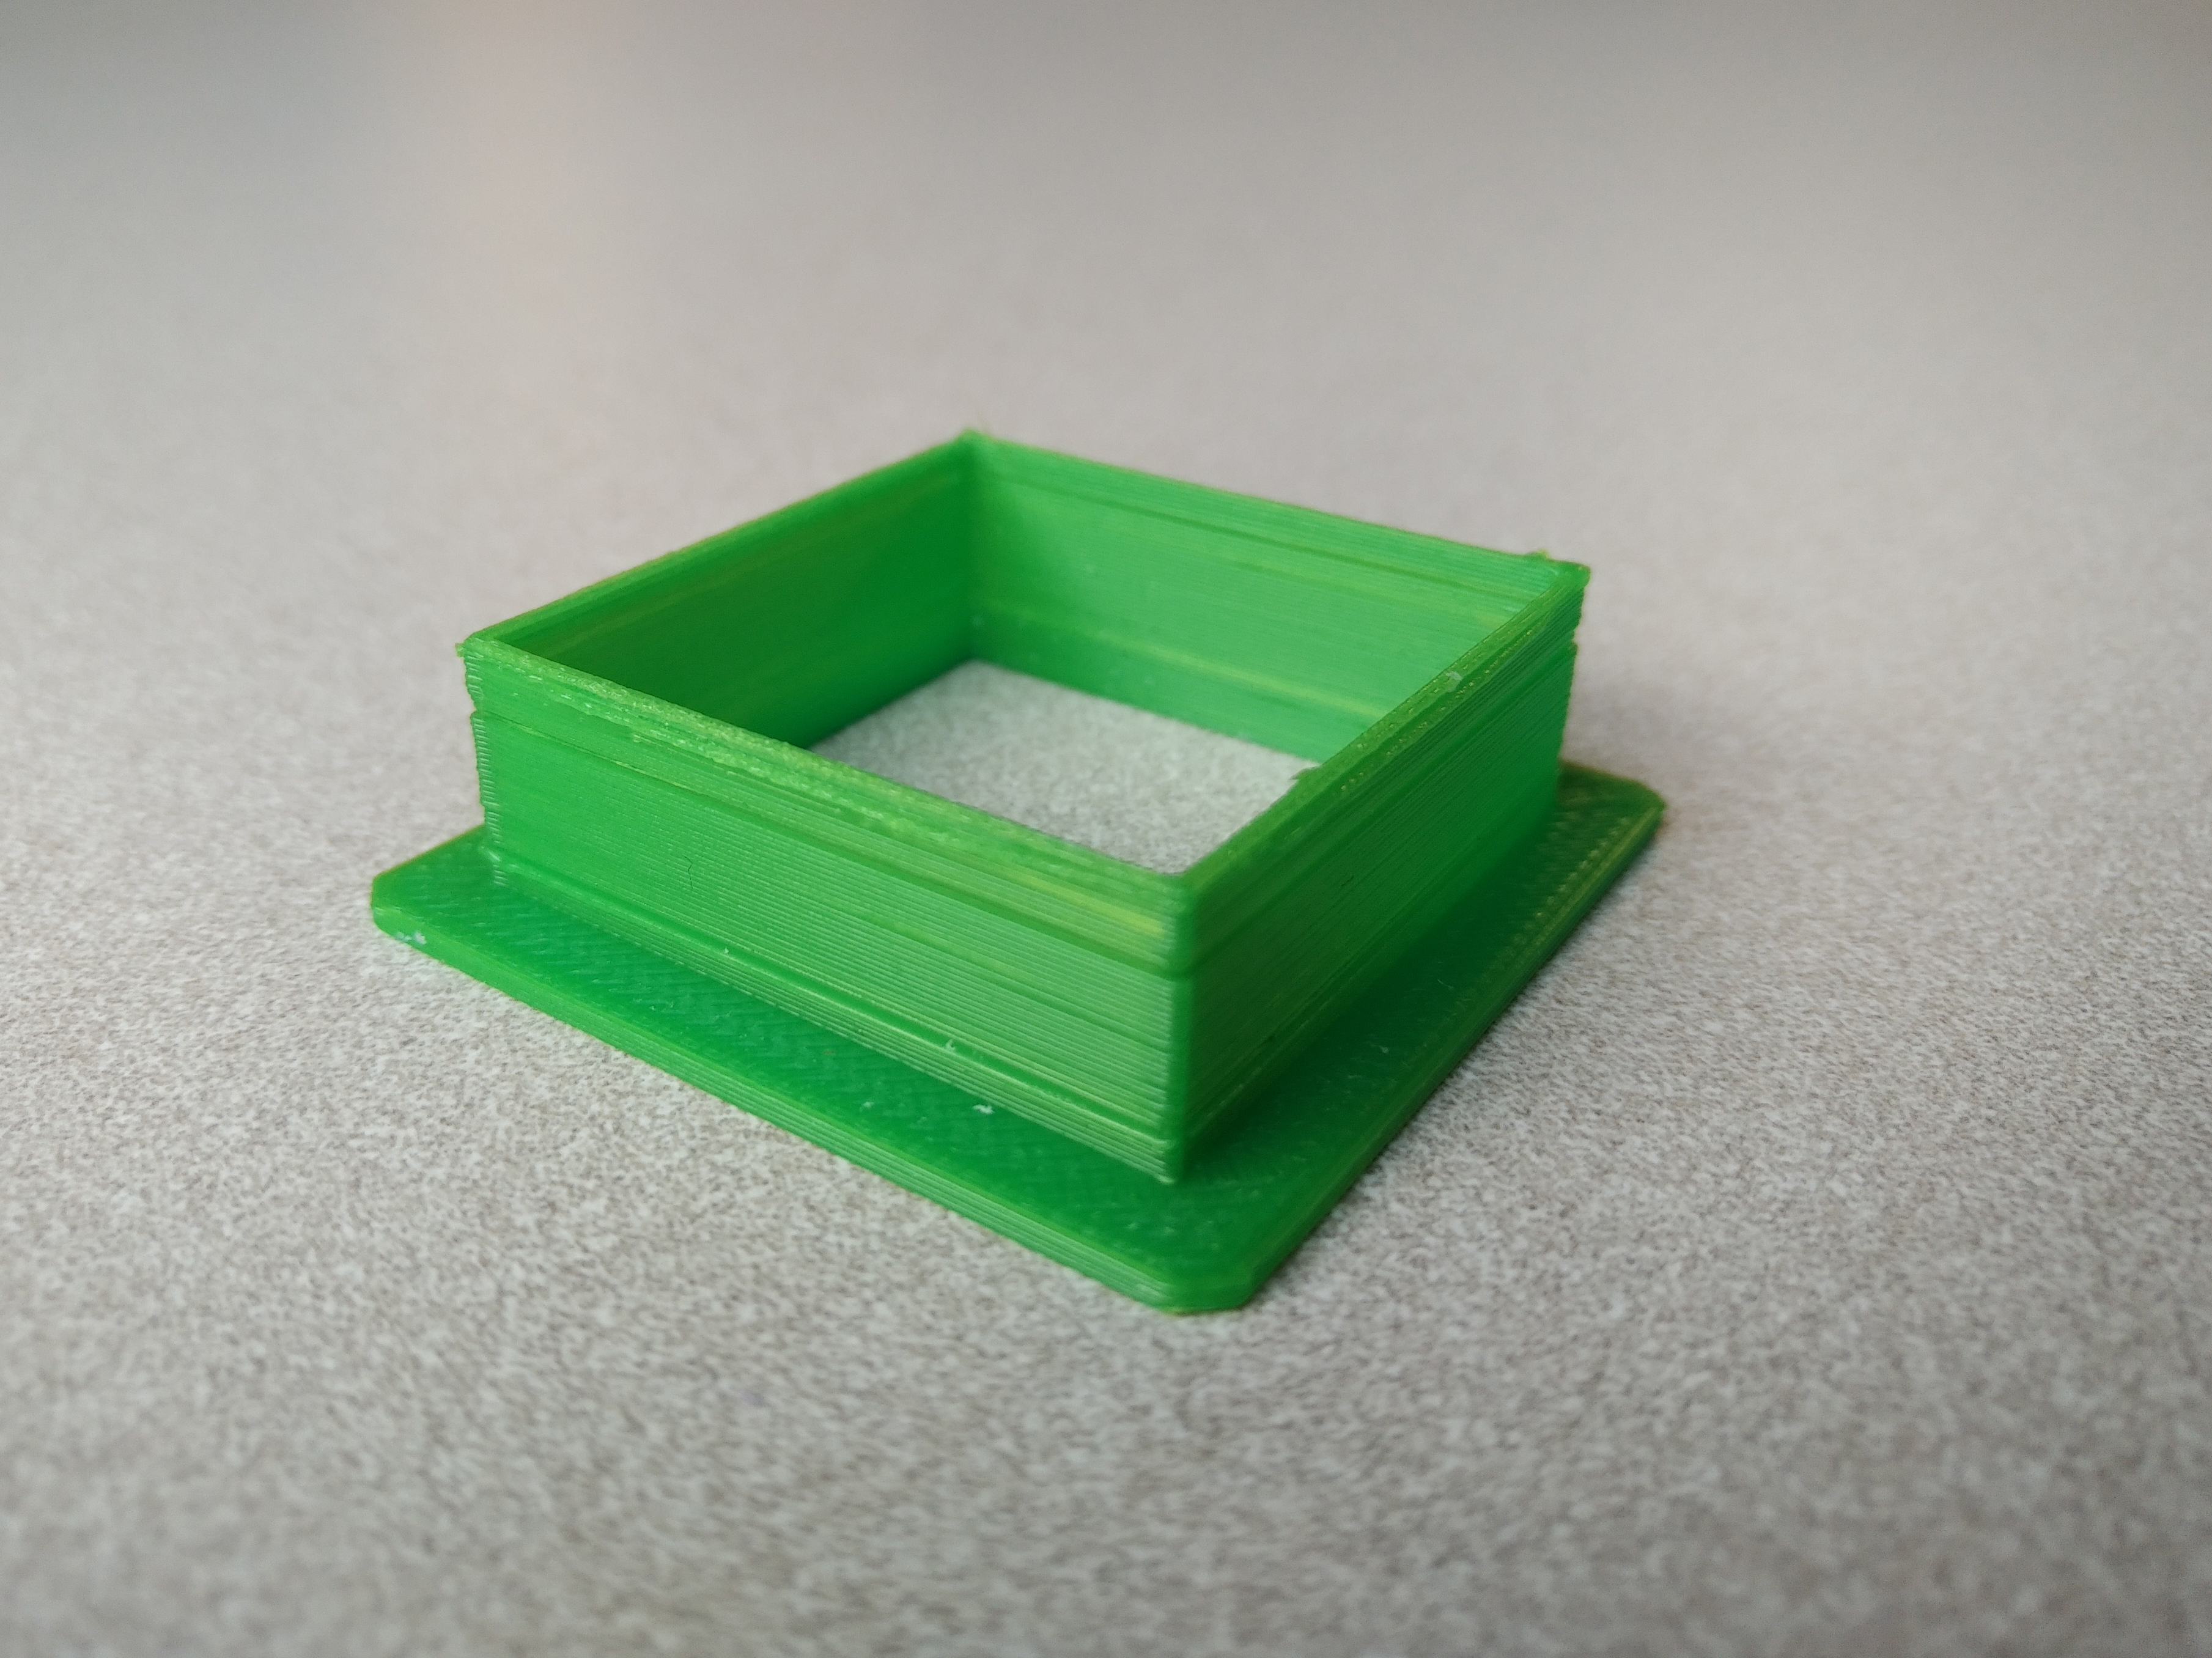
If you would like to print your cookie cutter, follow the instructions for submitting it to Maker Commons via 3D Printer OS.
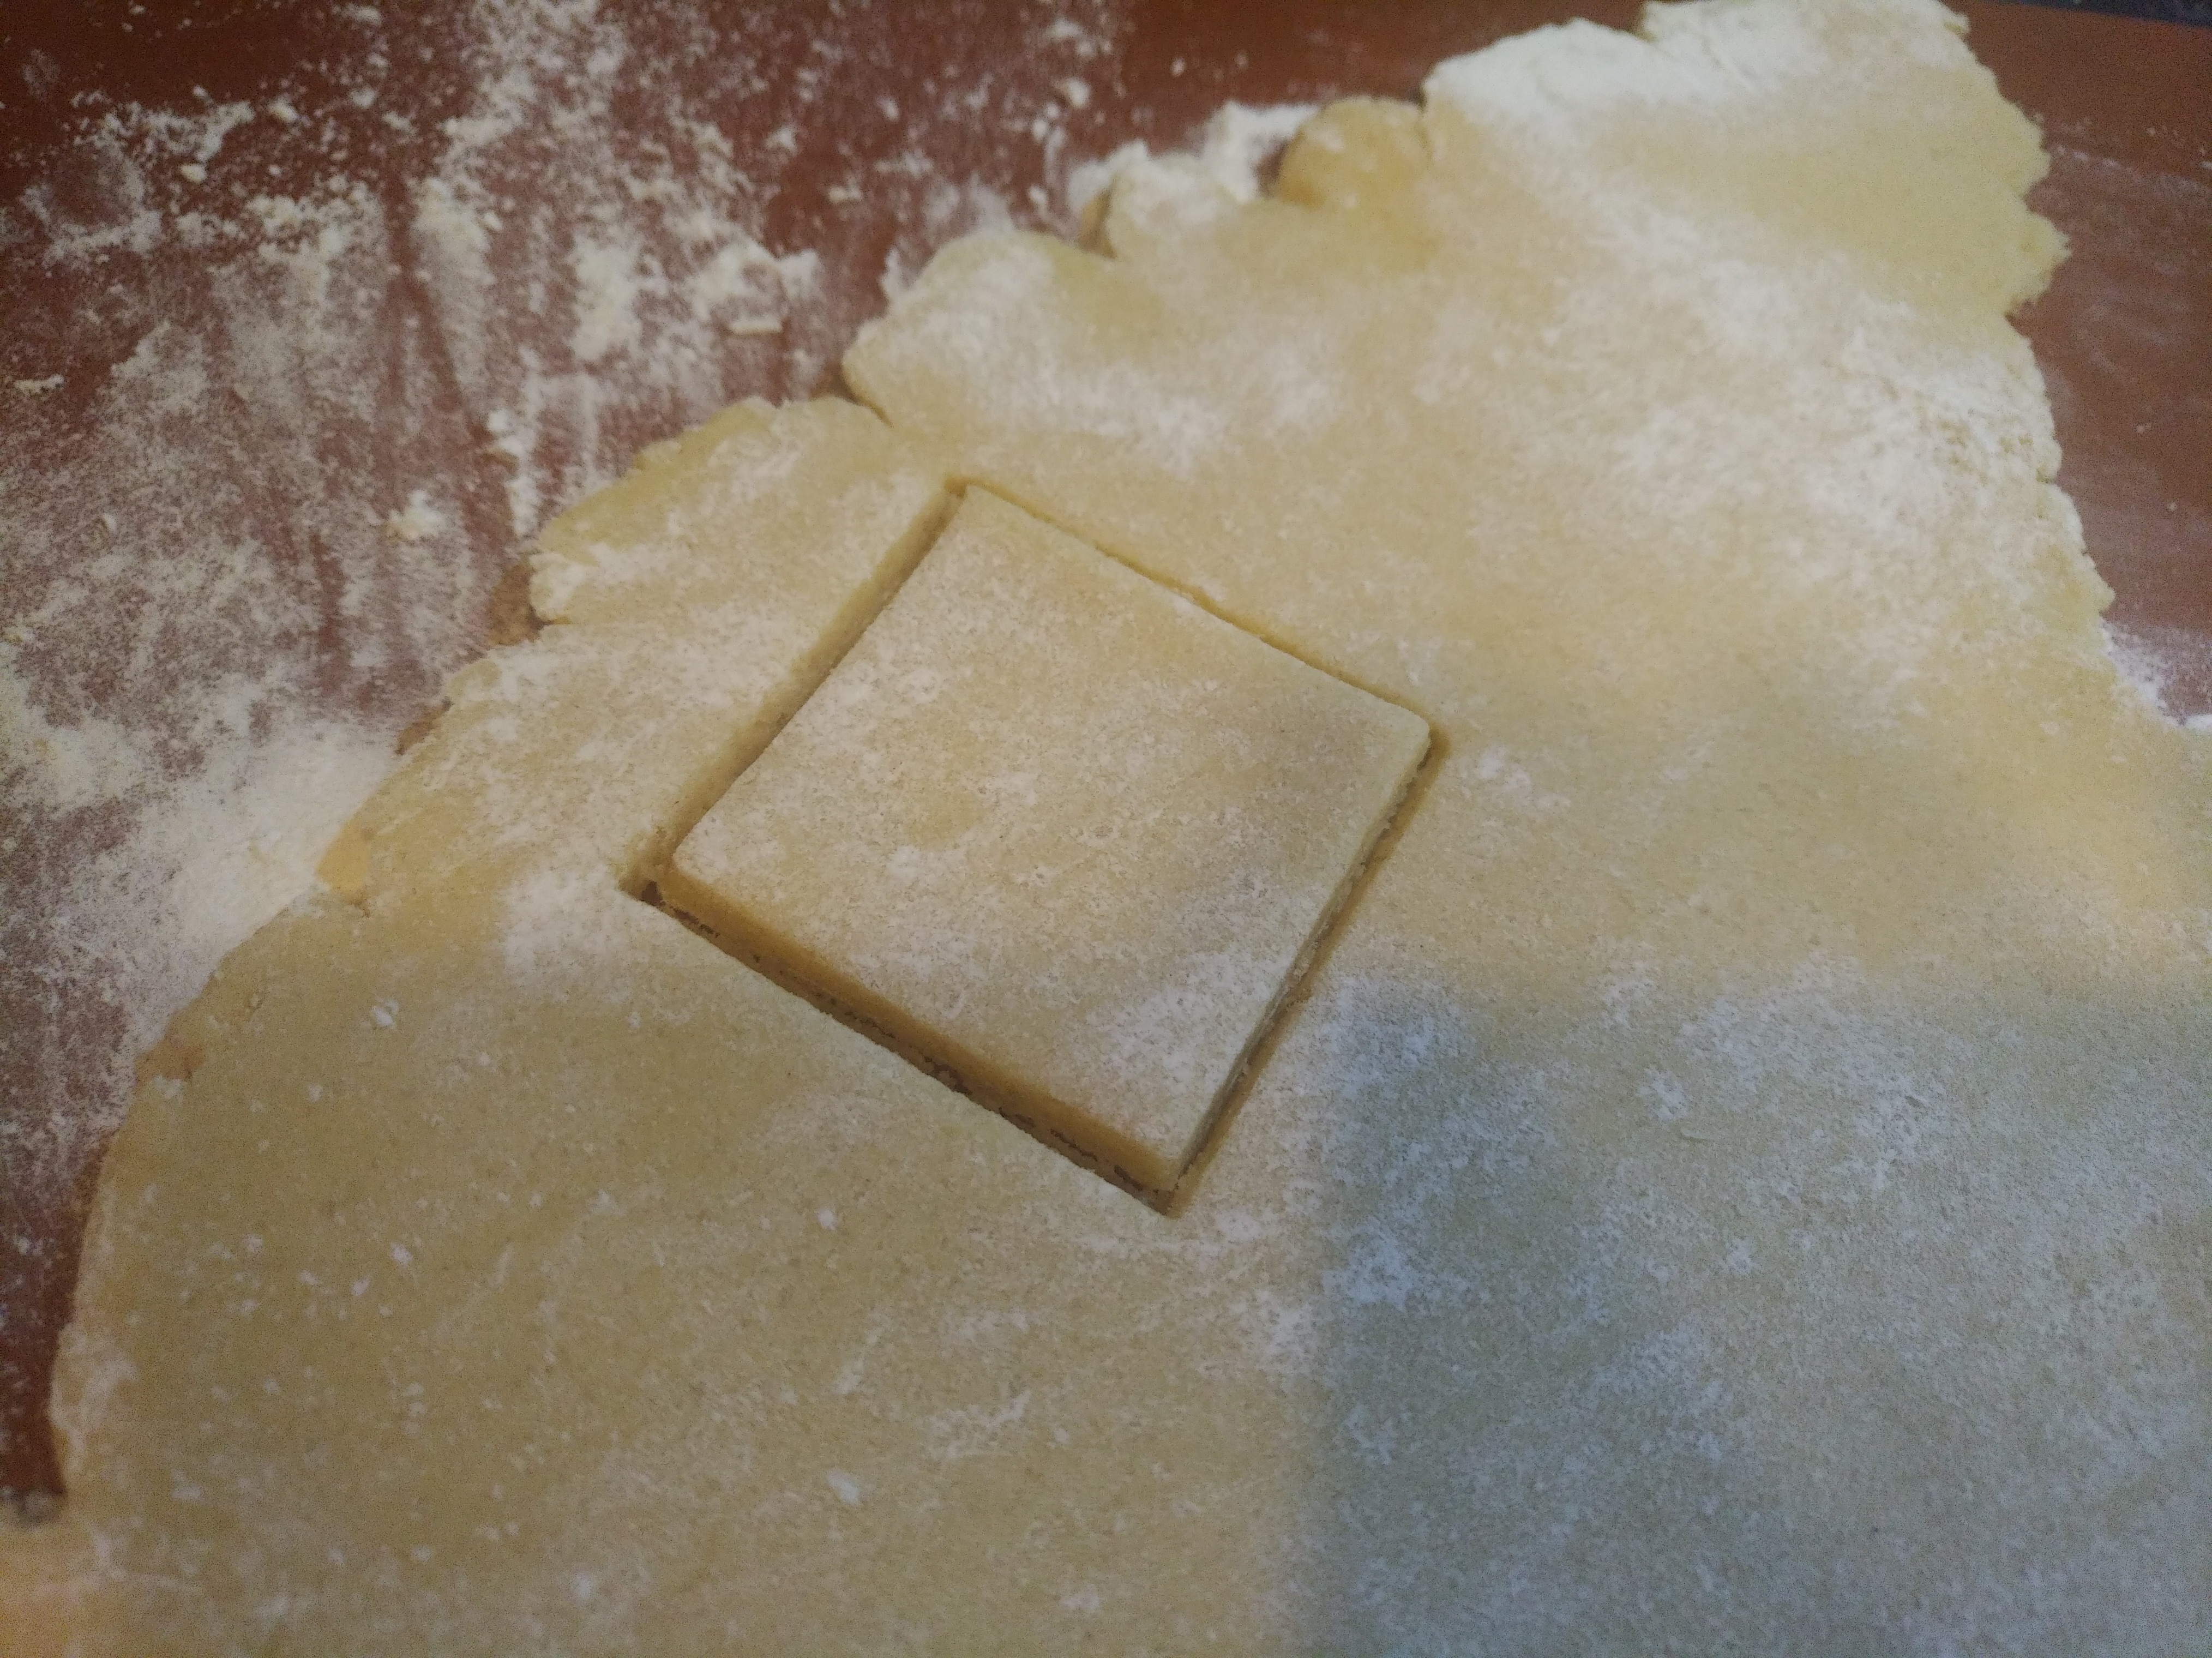
Make cookie dough and cut out cookies.
Bake cookies. Pro tip: Refrigerate cookies for 15 minutes before baking to keep their shape.
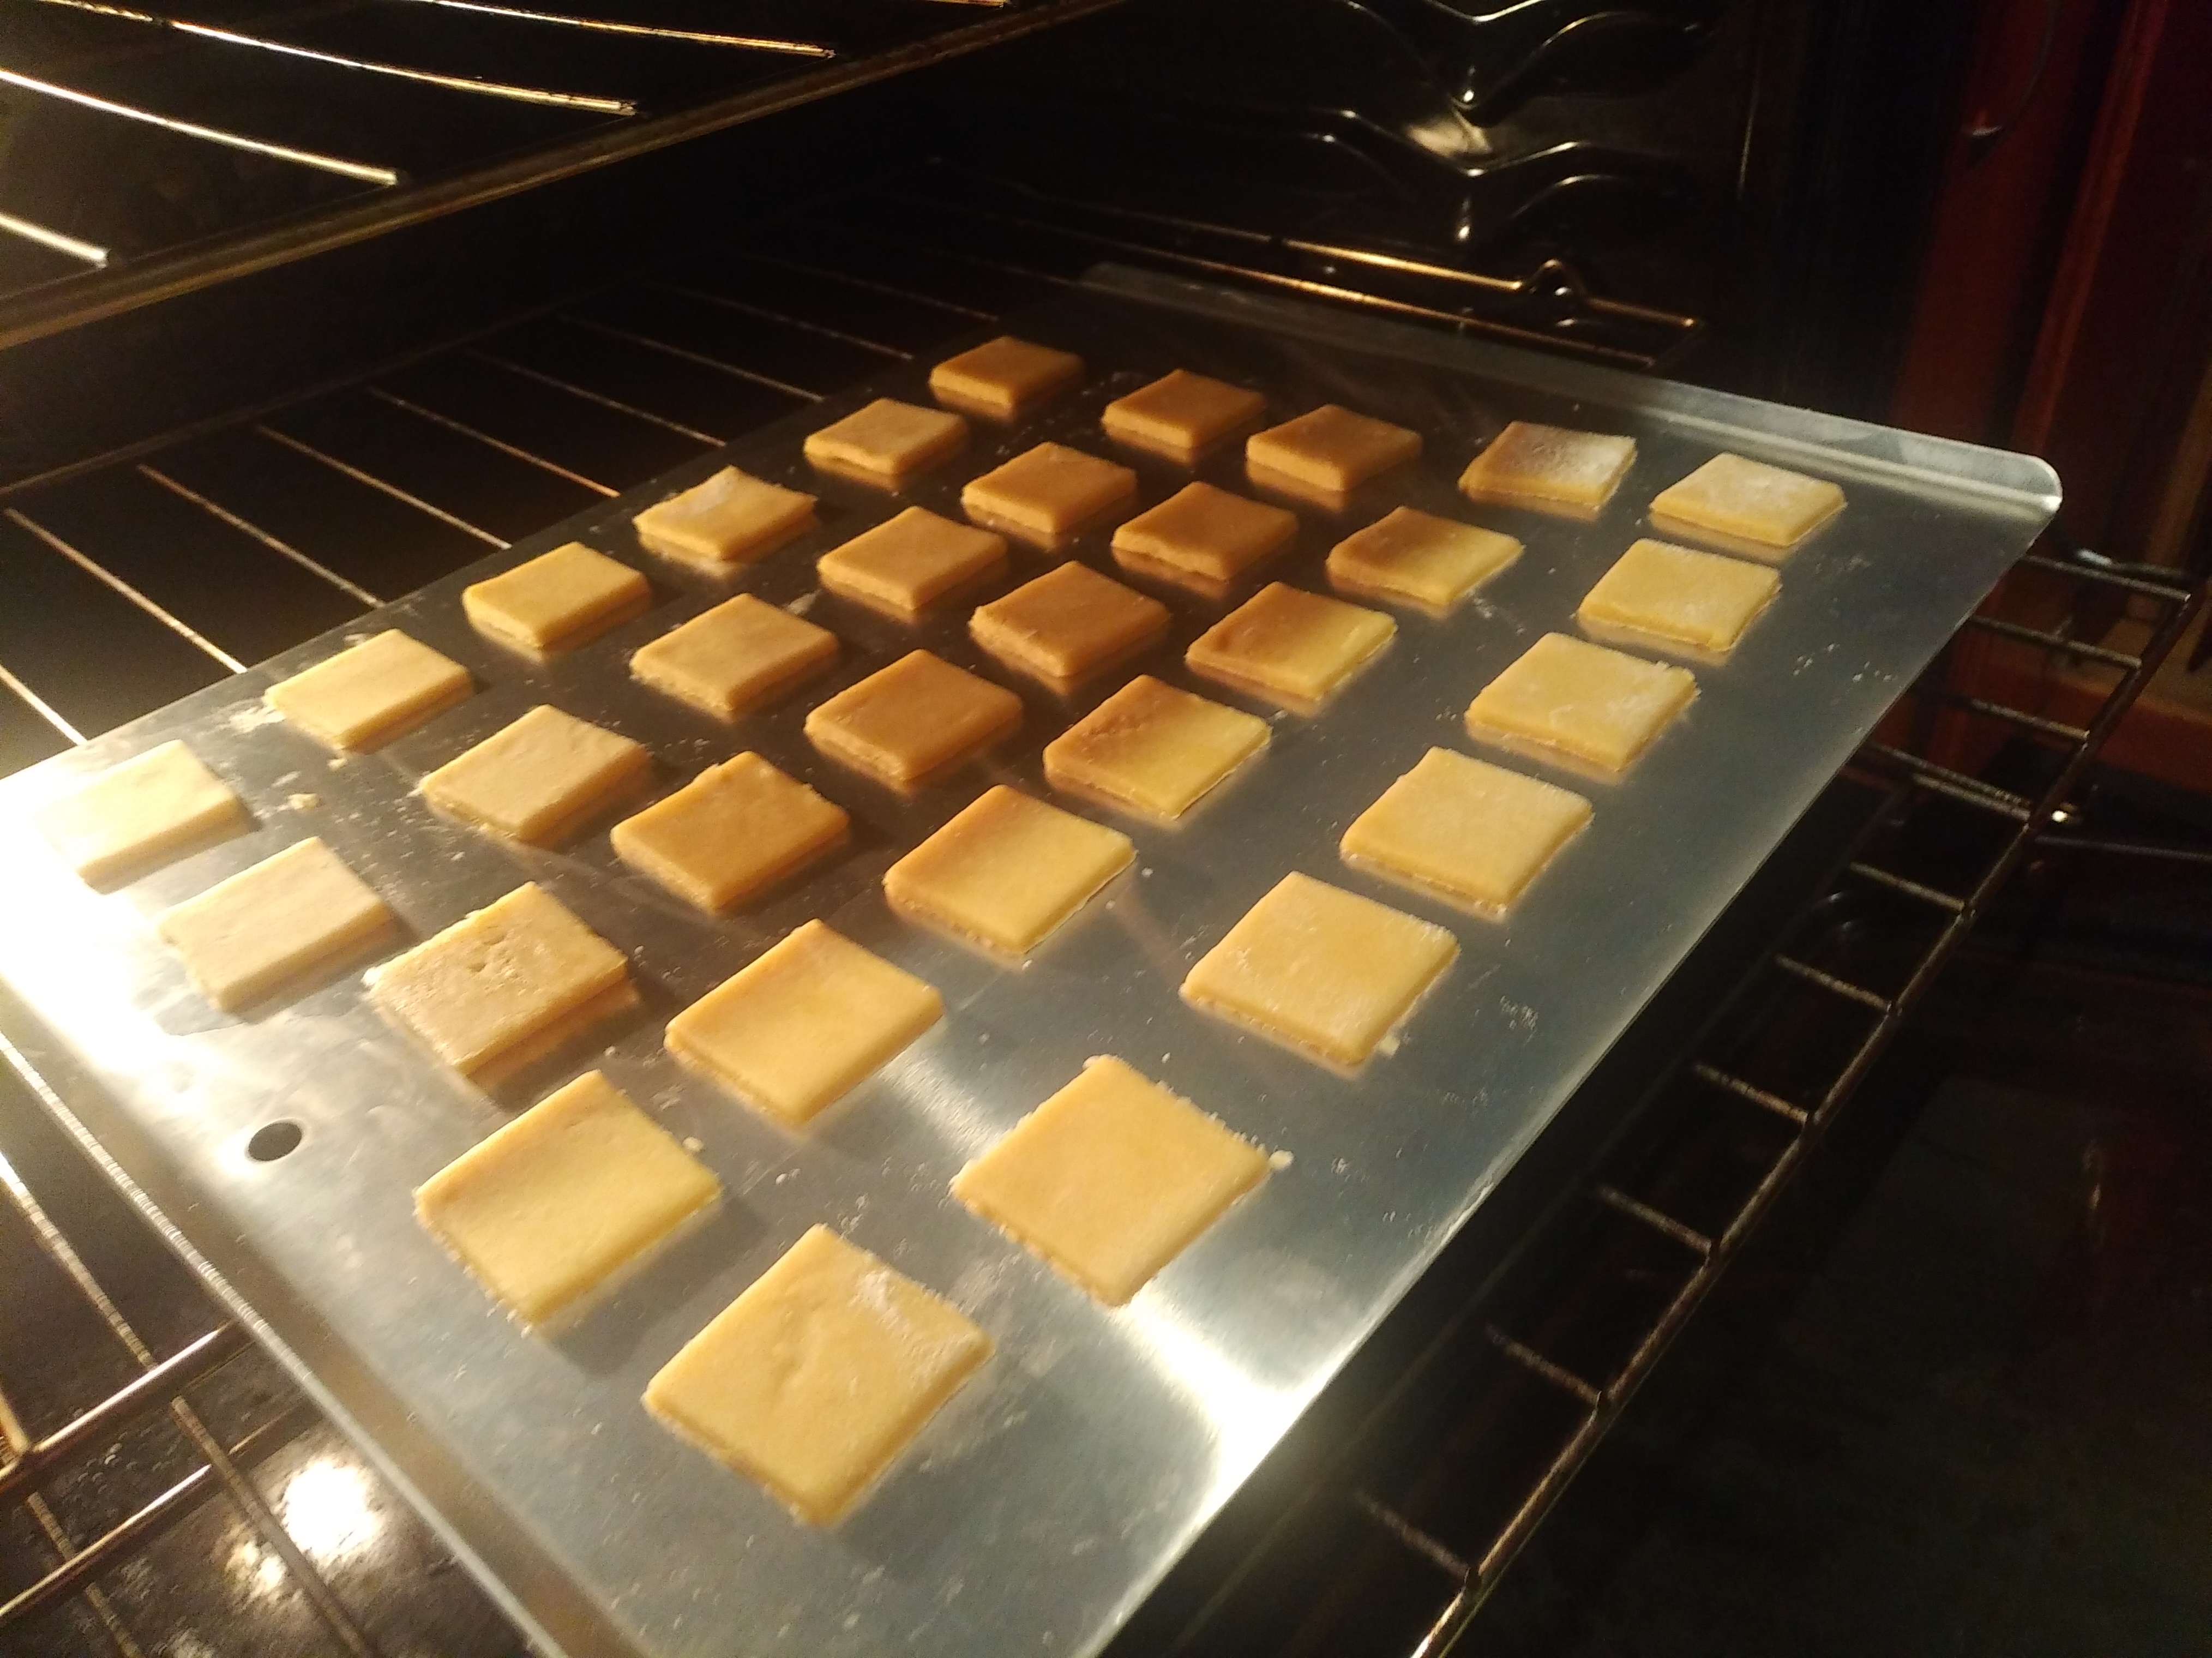
Decorate and enjoy!