This tutorial will teach you how to use the Dremel Print Cloud for preparing 3D models to be printed on the Dremel 3D45 printers in the Dreamery. The Dreamery is an open creative collaboration space hosted by Teaching and Learning with Technology in room 4 of the Shields building.
There are six Dremel 3D45 printers available for use. Unlike the Maker Commons, these printers are available on a first-come first-served basis. Load your prepared print submission on a USB flash drive and, if a Dremel 3D printer is available, plug in to begin printing. There is no queue or submission process. If there is not a printer available, please check back later.
Once your print is completed, it may be removed from the printer in order for the next person to begin their print. A basket near the printers will contain all finished prints and can be picked up whenever the Dreamery is open (Monday through Friday, 9 am – 5 pm). We regret that it is not possible to label, package, or ship prints completed on the Dremel printers.
- Visit Dremel’s Print Cloud website and create a free account, then log in.
- Click on the “Upload New” button to upload an existing .stl file saved to your computer.
- Drag and drop the .stl file into the upload space. The file will now upload and may take a moment or two. Once the progress bar says “Successfully Uploaded” click on “Save and Go to My Files.
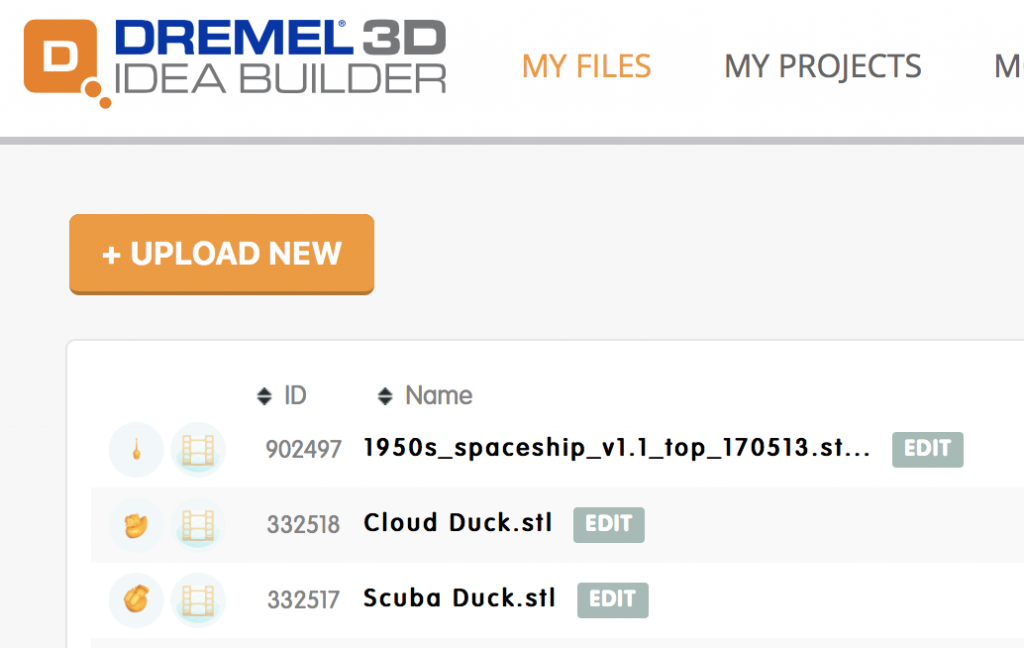
- Now you will see a list of all files you have previously uploaded to Print Cloud. Your newest upload should be at the top of the list. You can now go through the three step process of preparing your file to be printed on a Dremel printer – Repair, Layout, and Slice.

- Click “Repair” and use the drop down menu next to “Optimizing for Printer Type” to select “Dremel 3D45 Idea Builder” then click “Fix.” Processing will take a minute or less and when finished click “Close.” You’ll notice in the file listing that Dremel has appended “_repaired” to a copy of your file. Continue to use the top most “_repaired” file for each step.
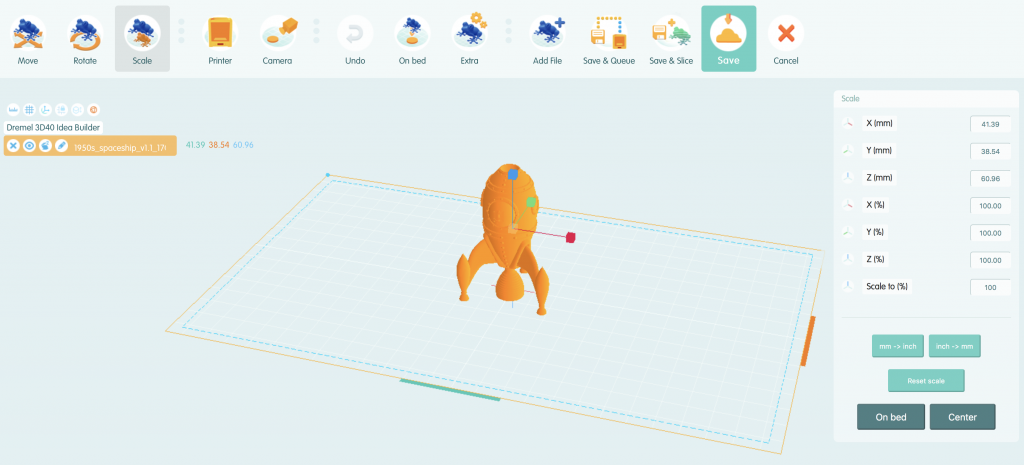
- Next click “Layout.” This is where you will resize your object for printing and make sure it is both centered and flat on the build plate. Click on the “Scale” button and using the menu on the right to resize the object to the desired size. The easiest way to do this is step down in percentages in the “Scale” field. The default setting of 100% tends to fill the entire print bed and will likely jam the printer or fail in another way. Depending on the size of the object and the goal of the print, we recommend reducing the scale by at least 50%. Always make sure to click “On Bed” and “Center” after adjusting scale. When everything is set to the way you want it, click “Save.” A new copy of the “_repaired” file should now be at the top – use this one for the next step.
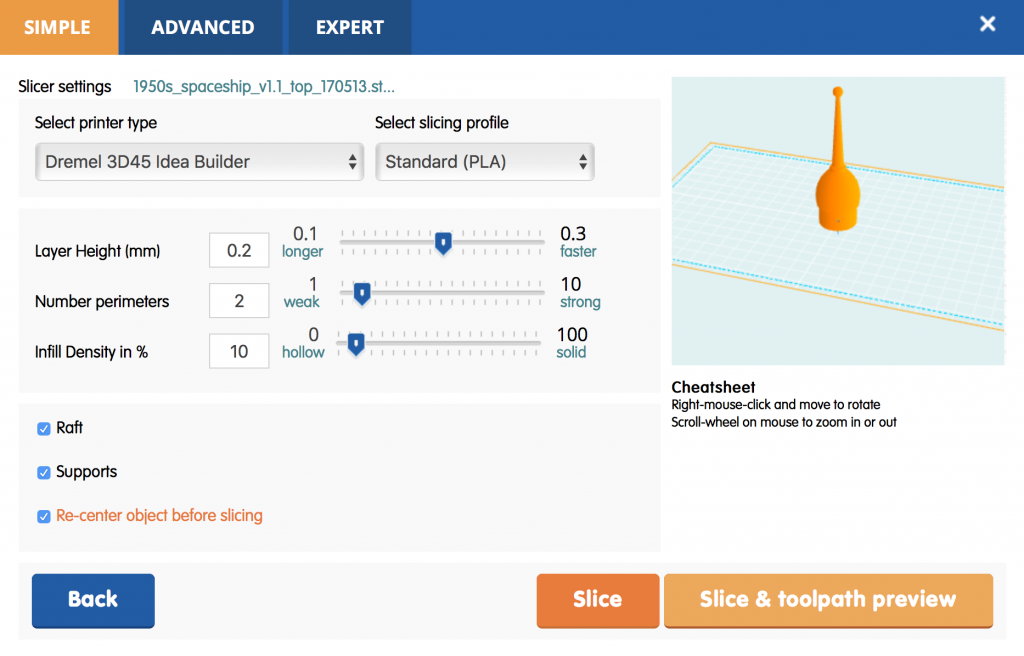
- Now click “Slice.” This part will create instructions for the 3D printer on how to manufacture your object. First, make sure to use the drop down menu under “Select printer type” to select the “Dremel 3D45 Idea Builder.” Then under “Select Slicing Profile” select PLA. We recommend that you adjust the slider for “Infill Density” to 10%. Infill is the term for the amount of plastic printed inside an otherwise hollow object. The higher your infill % the longer it will take to print. Think adding hours and hours to the print time. We recommend 10% infill. Then, make sure to check mark “Raft” and verify that “Supports” and “Re-center object before slicing” are also checked. Now click “Slice.”
- You will be returned to your file menu. Slicing will take a minute or two to finish as indicated by the progress bar. After it is complete, click on the file name for your file and it will download the prepared .g3drem file to your computer.
- Copy the .g3drem file to an available flash drive and bring it to the Dreamery in room 4 of the Shields building and look for an available printer. If a printer is not being used and the build plate has been cleared, feel free to insert the USB flash drive into the printer.
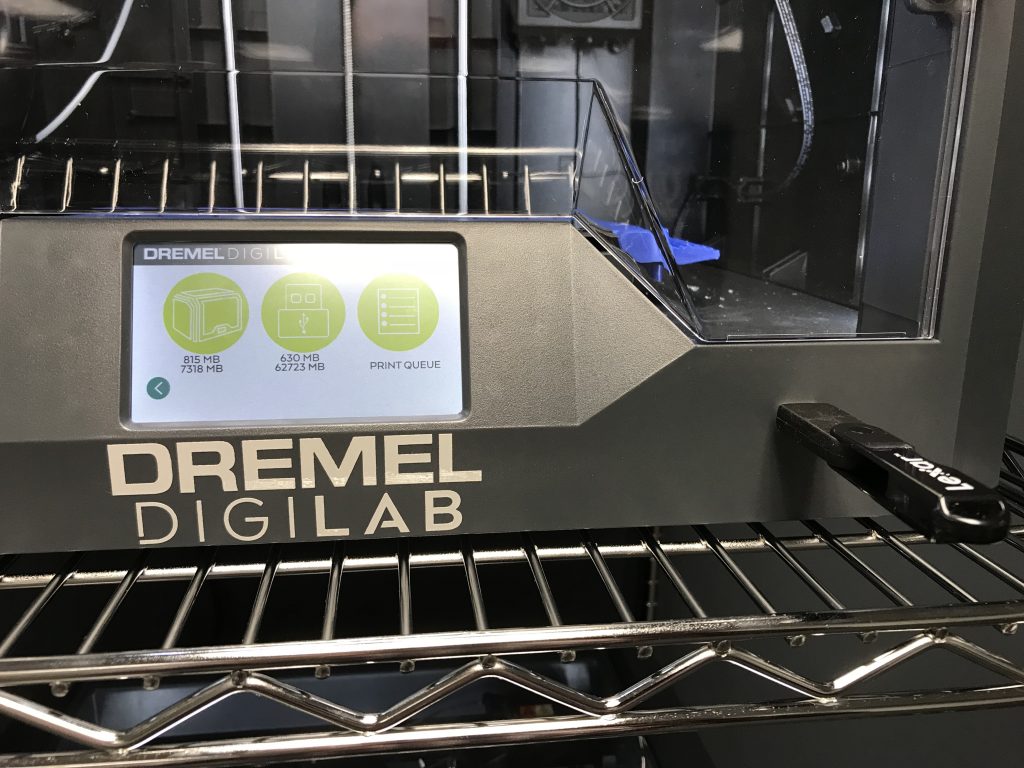
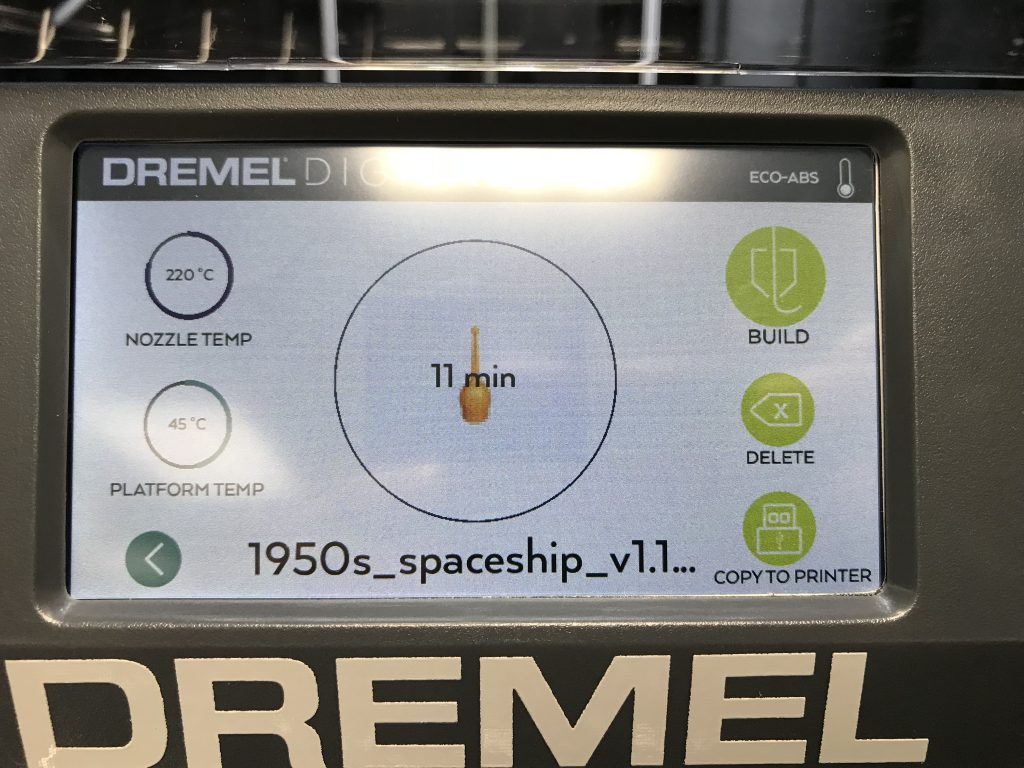
- Touch the center button on the Dremel 3D45’s touchscreen to access files saved to the USB flash drive. Navigate to your file and select it.
- Before printing, make sure to apply glue from the provided glue stick to the build platform. The glue helps the print adhere to the build platform and lessens the chance of warping or slipping while being printed.

- With your file selected, verify the estimated print time displayed on the screen and then touch the “Build” button in the upper right hand corner of the touchscreen to begin printing. Please take your flash drive with you after the Dremel 3D45 notifies you that the print has been copied to the printer. Please return to pick up your print after the estimated print time has elapsed. The Dreamery is open from 9 am until 5 pm Monday through Friday. Prints may be harvested and set in a bin next to the printers in order to allow the next student to begin printing.